Are you tired of dull and lackluster skin? Look no further! Our step-by-step guide will help you create your own DIY radiance-boosting face oil right in the comfort of your own home. We understand the importance of nourishing and hydrating the skin, and that’s why we’re here to guide you through the process. With our guide, you can customize the face oil to cater to your skin’s unique needs. Say goodbye to harmful chemicals and additives and hello to radiant and glowing skin!
Glowing Skin Essentials

![Lumene Nordic-C [Valo] Glow Boost Essence Serum - Radiance Enhancing Vitamin C Serum for Face - Vitamin C & Hyaluronic Acid Facial Serum for Smooth, Plump, Glowing Skin (1 fl oz)](https://m.media-amazon.com/images/I/31gRSUMOvCL.jpg)

Gather the ingredients
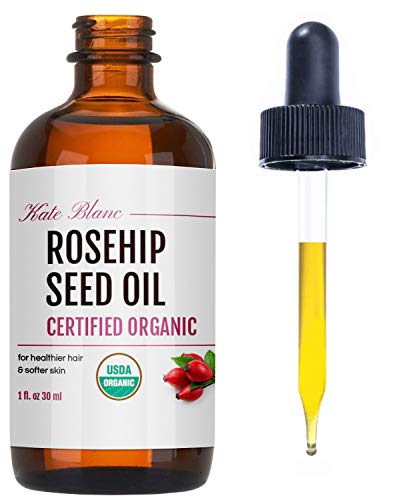
- Choose a carrier oil: Select a carrier oil such as jojoba, rosehip, or argan oil. The carrier oil will serve as the base for your face oil and provide nourishment to your skin.
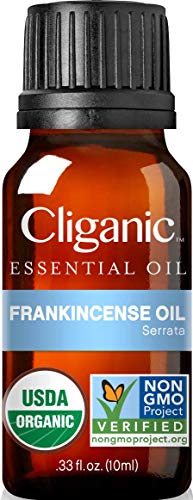
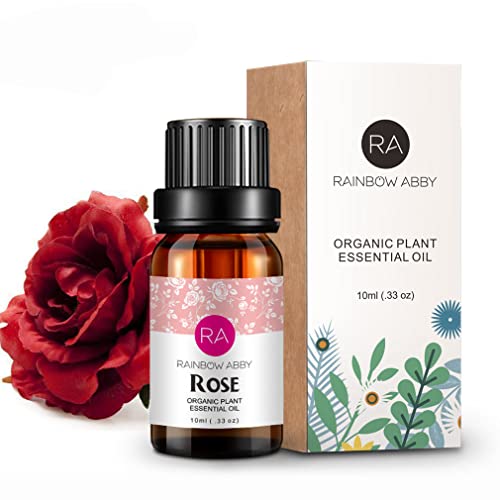
- Pick essential oils: Decide on a combination of essential oils that best suit your skin’s needs. Lavender, frankincense, and geranium are popular options, each offering unique benefits for your skin.
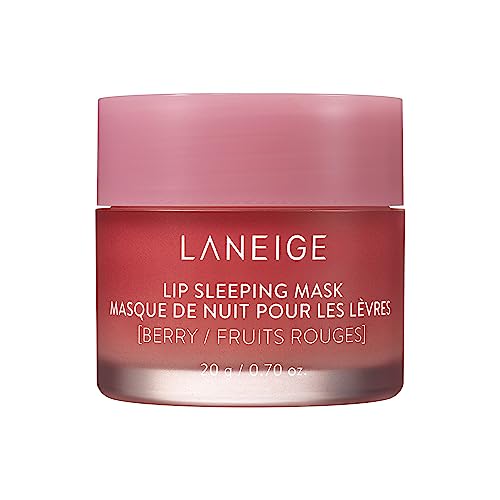
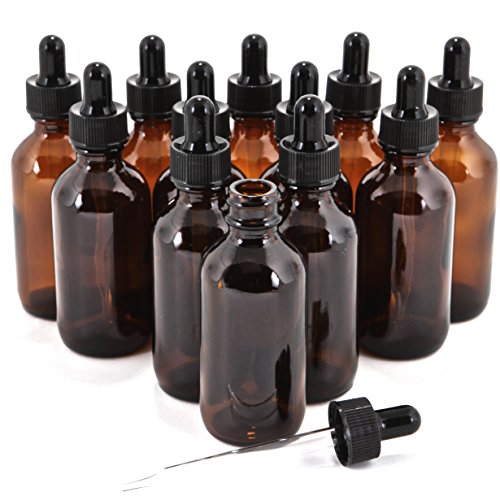
- Get glass bottles or jars: Find small glass bottles or jars to store your homemade face oil. Glass containers are ideal as they help preserve the potency and freshness of the oil.
By gathering these ingredients, you are one step closer to creating your own radiant face oil. Remember to choose a carrier oil that works well with your skin type and select essential oils based on their specific benefits. With everything in hand, you can proceed to the next step of making your DIY radiance-boosting face oil.


Mix the carrier oil and essential oils
- Prepare a clean glass bottle or jar: Make sure the container you are using is thoroughly cleaned and sanitized before starting. This will help prevent any contamination and ensure the longevity of your oil mixture.
- Combine the carrier oil and essential oils: Pour your preferred carrier oil into the glass bottle or jar. Popular carrier oils include jojoba oil, coconut oil, almond oil, and grapeseed oil. Add 10-15 drops of essential oils to the carrier oil. The essential oils you choose will depend on your personal preference and the desired benefits. For example, lavender oil is known for its calming properties, while tea tree oil is often used for its antibacterial qualities.
- Experiment with different combinations: Feel free to mix and match different essential oils to find the perfect blend for you. For example, you could try combining 5 drops of lavender oil with 5 drops of peppermint oil for a refreshing and soothing blend. Remember to keep track of the combinations you try, so you can recreate your favorite blends in the future.
- Adjust the ratio according to your needs: The ratio of carrier oil to essential oils can vary depending on your skin type and personal preference. As a starting point, use 1 ounce (30 ml) of carrier oil for every 10-15 drops of essential oils. If you have sensitive skin, you may want to use a lower concentration of essential oils. Conversely, if you prefer a stronger scent, you can increase the amount of essential oils used.
- Mix well and store properly: After combining the carrier oil and essential oils, seal the bottle or jar tightly and shake it well to ensure everything is thoroughly mixed. Store the mixture in a cool, dark place, away from direct sunlight, to maintain its potency. It is recommended to use the oil mixture within 6-12 months for optimal freshness and effectiveness.
Remember, experimenting with different ratios and combinations is part of the fun when creating your own oil blend. Take note of how your skin reacts to different blends and make adjustments accordingly. Enjoy the process of discovering the perfect mixture that suits your needs and preferences.


Shake well to blend
To begin, after adding the oils to the bottle or jar, make sure to tightly close the container. This step is crucial to prevent any leakage or spills while you shake the mixture. Once the lid is secured, hold the bottle or jar firmly and vigorously shake it to blend all the ingredients together. The shaking motion helps to thoroughly mix the essential oils with the carrier oil, ensuring an even distribution of the oils throughout the mixture.
Remember to shake the container well for at least 30 seconds to a minute. This duration allows the oils to combine effectively, creating a homogeneous blend. The shaking process helps to break down any clumps or separation that might have occurred during the oil mixing, resulting in a well-incorporated mixture. After shaking, you can proceed to use the blended oils according to your desired application, whether it’s for a massage, aromatherapy, or skincare.


Store in a cool, dark place
Store in a cool, dark place: After mixing the oils, it is crucial to store the bottle or jar in a cool, dark place. This simple step is essential to preserve the potency and effectiveness of the essential oils in your face oil blend. Keeping your face oil away from direct sunlight and extreme temperatures will help maintain its integrity and extend its shelf life.
Instructions: Find a suitable storage location for your face oil blend. Choose a cool and dark area, such as a cabinet or drawer, away from windows or heat sources. Sunlight and heat can degrade the quality of the essential oils and reduce their beneficial properties.
Once you have selected the ideal spot, place the bottle or jar containing your face oil in this cool, dark place. Ensure it is tightly sealed to prevent any air or moisture from entering. By doing so, you are creating an optimal environment for the oils to stay fresh and potent.
Remember to avoid exposing your face oil to direct sunlight or extreme temperatures, such as near heating vents or in hot areas like the bathroom. Consistently following these storage guidelines will help you enjoy the full benefits of your face oil for an extended period.


Apply and enjoy
- Prepare: Ensure your face is clean and dry before applying the face oil. Gently cleanse your face using your preferred cleanser and pat it dry with a clean towel.
- Dispense: Take a few drops of the radiance-boosting face oil onto your fingertips or the palm of your hand. Be mindful not to use too much as a little goes a long way.
- Apply: Using gentle, upward motions, massage the oil into your skin. Start with your cheeks, moving towards your forehead, nose, and chin. Pay extra attention to areas that need more hydration or where fine lines tend to appear.
- Absorb: Allow the oil to absorb into your skin for a few minutes. This step allows the nourishing ingredients to penetrate deeply and work their magic.
- Continue: Follow up with your regular skincare routine, applying any additional products such as moisturizer or sunscreen. If you prefer to wear makeup, apply it after the oil has fully absorbed.
- Enjoy: Incorporate this face oil into your daily skincare ritual to promote a radiant and youthful complexion. Revel in the natural glow and enjoy the nourishing benefits that your DIY creation provides.
Remember, consistency is key when using face oils, so make it a part of your daily routine to experience the best results.


Final thoughts
In conclusion, creating your own DIY radiance-boosting face oil at home is a fantastic way to take control of your skincare routine. By utilizing natural ingredients and tailoring the formula to your specific needs, you can achieve a radiant complexion that makes you feel confident and beautiful. So, why not give it a try and experience the amazing benefits of homemade face oil? Your skin will thank you.
Necessary Supplies


DIY Radiance Boosting Tips
Step-by-step guide to effectively use Radiance-boosting face oil
- Cleanse your face: Start by thoroughly cleansing your face using a gentle cleanser to remove any dirt, makeup, or impurities. Pat your face dry with a clean towel
- Apply a few drops: Take a few drops of the radiance-boosting face oil onto your fingertips. Gently rub your fingertips together to warm the oil slightly
- Massage onto your face: Begin massaging the oil onto your face using upward circular motions. Start from the center of your face and work your way outwards, covering your entire face, including the forehead, cheeks, nose, and chin
- Pay attention to problem areas: If you have any specific problem areas like dry patches or fine lines, spend a little extra time massaging the oil into those areas to provide extra hydration and nourishment
- Allow absorption: Allow the face oil to fully absorb into your skin for a few minutes. You can continue with your skincare routine or apply makeup as desired
- Use morning and/or night: Depending on your preference and skin type, you can use the radiance-boosting face oil in the morning, evening, or both. Adjust the frequency based on how your skin responds
- Follow with sunscreen: If using the face oil in the morning, it is recommended to follow it up with a broad-spectrum sunscreen to protect your skin from harmful UV rays. This is particularly important as some face oils can make your skin more sensitive to sun exposure
Common Questions about Radiance-Boosting Face Oil
Will radiance-boosting face oil make my skin look oily?
Yes, radiance-boosting face oil can potentially make your skin look oily. Face oils are designed to add hydration and nourishment to the skin, which can give it a glowing and radiant appearance. However, if you have naturally oily or acne-prone skin, using a face oil may increase the oiliness of your skin. It is important to choose a lightweight and non-comedogenic face oil, and to use it sparingly to avoid a greasy or shiny look.

Hey, I’m Ava Wilson—a skincare enthusiast and a certified esthetician. I’m dedicated to sharing my knowledge and empowering others to achieve healthy, glowing skin through simple, effective routines and natural remedies. Join me on this exciting skincare journey, and let’s unlock your skin’s potential for a confident, beautiful you.