This guide outlines a step-by-step process for cleansing and exfoliating oily skin to enhance the absorption of face cream. It aims to address common issues such as clogged pores and reduced effectiveness of skincare products. By following these steps, users can optimize the benefits of their face cream and enjoy healthier, more nourished skin.
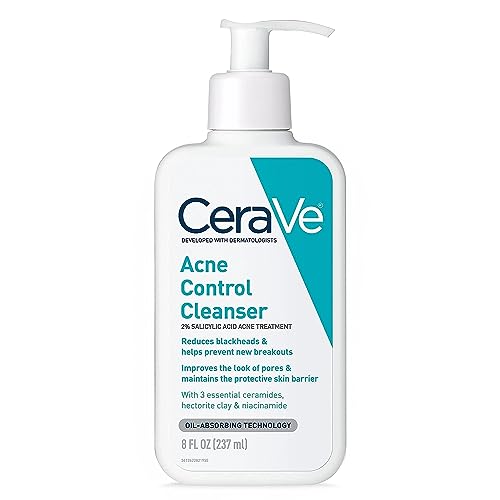
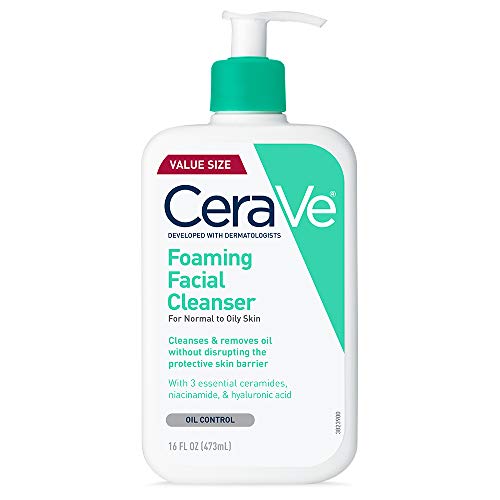
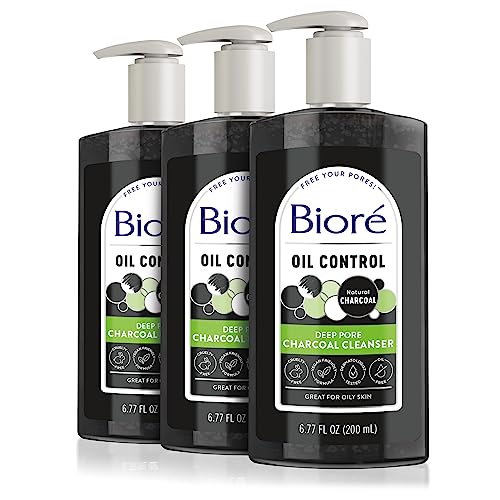
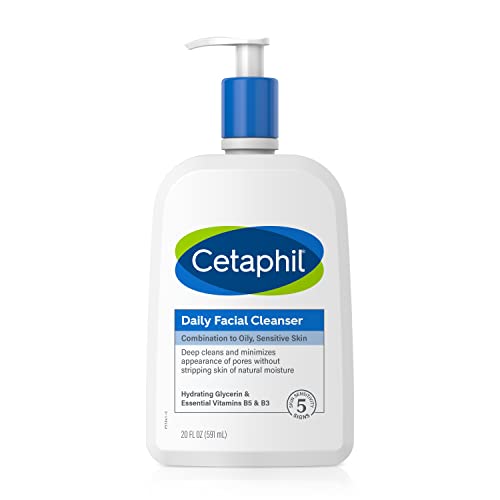
Top Picks for Oily Skin

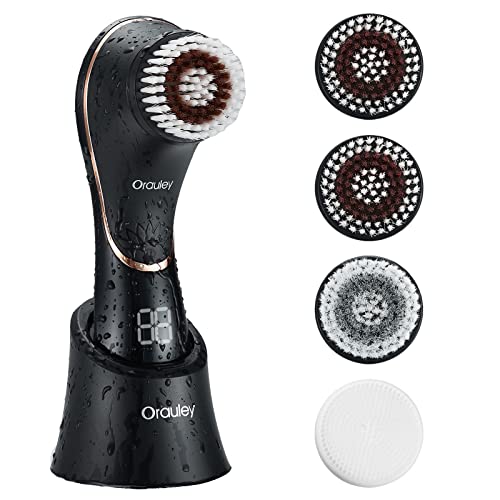
Step 1: Choose the right cleanser
- Select a gentle cleanser specifically formulated for oily skin.
- Look for ingredients like salicylic acid or tea tree oil, which can help control excess oil production and reduce acne breakouts.
- Avoid harsh cleansers that can strip the skin of its natural oils and cause irritation.
- Examples of gentle cleansers for oily skin include Neutrogena Oil-Free Acne Wash, Cetaphil Oily Skin Cleanser, and La Roche-Posay Effaclar Purifying Foaming Gel.
- Remember to read the product labels and reviews to ensure the cleanser is suitable for your skin type.
- Use the cleanser twice a day, in the morning and evening, to effectively remove dirt, oil, and impurities from your skin.
- Gently massage the cleanser onto damp skin in circular motions, and rinse thoroughly with lukewarm water.
- Pat your face dry with a clean towel and follow up with a suitable toner and moisturizer for oily skin.

Step 2: Wash your face with warm water
Splash your face with warm water for about 30 seconds. This will help to open up your pores, allowing the cleanser to penetrate deeply and effectively remove dirt and impurities. Avoid using hot water, as it can cause dryness and irritation. For example, you can turn on the faucet to warm up the water and cup your hands together to catch the water. Then, gently splash the water onto your face, making sure to cover your entire face and neck area.
Step 3: Apply the cleanser
- Take a small amount of the cleanser.
- Gently massage the cleanser onto your face, using circular motions.
- Pay extra attention to areas that tend to get oily, such as the forehead, nose, and chin.
- Continue massaging for about 1-2 minutes, ensuring that the cleanser covers your entire face.
- Rinse off the cleanser with lukewarm water, making sure to remove all traces of the product.
- Pat your face dry with a clean towel.
- Remember to avoid rubbing your face vigorously to prevent irritation.
- Follow up with the next step in your skincare routine, such as applying toner or moisturizer.


Step 4: Rinse thoroughly
To ensure that your skin is completely free of cleanser residue, it is important to rinse it off thoroughly with lukewarm water. Lukewarm water is ideal as it effectively removes the cleanser without stripping away the skin’s natural oils.
To rinse off the cleanser, splash lukewarm water onto your face and gently massage your skin in circular motions. Pay extra attention to areas where the cleanser may have accumulated, such as around the hairline and jawline. You can also use your fingertips to lightly tap and pat your skin, encouraging the water to penetrate and rinse away the cleanser.
Remember to be thorough in your rinsing, as leaving any traces of cleanser on your skin can lead to clogged pores and potential breakouts. A good rule of thumb is to continue rinsing until you no longer feel any slippery or soapy residue on your skin. This will ensure that your skin is clean and ready for the next step in your skincare routine.
Example: After massaging the cleanser into your skin for the recommended time, rinse your face under lukewarm water for at least 30 seconds. Use your fingertips to gently massage your skin in circular motions while rinsing, paying attention to your forehead, cheeks, chin, and nose. Once the water runs clear and you no longer feel any residue, you can pat your skin dry with a clean towel and move on to the next step.
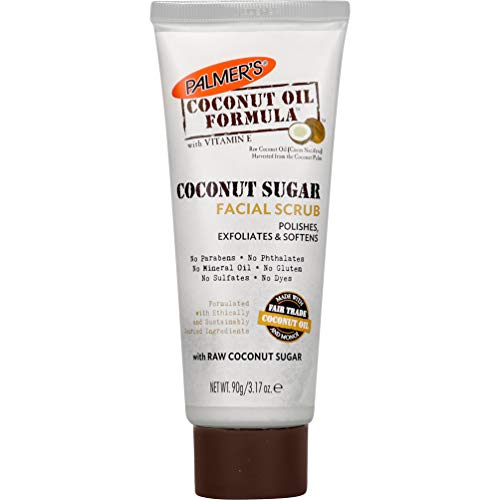
Step 5: Exfoliate
Exfoliation helps remove dead skin cells and unclog pores, leaving your skin looking fresh and smooth. To exfoliate, start by choosing a gentle exfoliating scrub or a chemical exfoliant with ingredients like glycolic acid or lactic acid. For example, you can opt for a scrub that contains small granules or beads, such as apricot kernels or sugar, or try a chemical exfoliant like a glycolic acid toner.
Next, dampen your skin with lukewarm water to prepare it for exfoliation. Take a small amount of the exfoliant and gently massage it onto your skin using circular motions. Focus on areas that tend to be rough or congested, such as the T-zone or the chin. Be sure to avoid scrubbing too vigorously, as this can irritate the skin.
After massaging the exfoliant for about a minute, rinse it off thoroughly with lukewarm water. This step is important to remove all the dead skin cells and product residue from your skin. You can also use a gentle cleanser to ensure all traces of the exfoliant are removed.
Remember, exfoliation should be done once or twice a week, depending on your skin type and sensitivity. Over-exfoliating can cause dryness, redness, and irritation, so it’s essential to find the right balance for your skin’s needs.


Step 6: Pat dry your face
Gently pat your face dry with a clean towel after cleansing and exfoliating. Avoid rubbing your skin, as it can cause irritation. Patting helps to remove excess moisture without harshly drying out your face, leaving it ready for the next step in your skincare routine.
Step 7: Apply toner
To apply toner, select a toner specifically formulated for oily skin. This will help balance the pH levels and eliminate any lingering dirt or cleanser. Pour a small amount of toner onto a cotton pad and gently swipe it across your entire face, avoiding the eye area. Make sure to cover all areas of your face, including the T-zone and any other oily areas. Repeat this step morning and night after cleansing your face.
Step 8: Wait for the toner to dry
- After applying toner to your face, wait for it to dry completely before moving on to the next step.
- This may take a few minutes, so be patient and avoid touching your face during this time.
- Once the toner is dry, you can proceed with applying your favorite face cream or moisturizer.
- By allowing the toner to dry fully, you ensure that it has effectively prepped your skin for better absorption of the next product.
- For example, if you apply face cream on damp or partially dried toner, it may not penetrate the skin as effectively, reducing its overall effectiveness.
- To ensure the toner is dry, you can lightly tap your face with your fingertips. If you don’t feel any moisture or stickiness, it is safe to proceed with the next step.
- Remember, patience is key! Taking the time to let the toner dry will yield better results for your skincare routine.
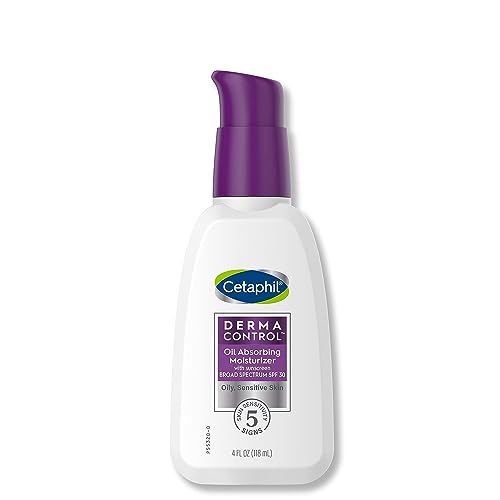
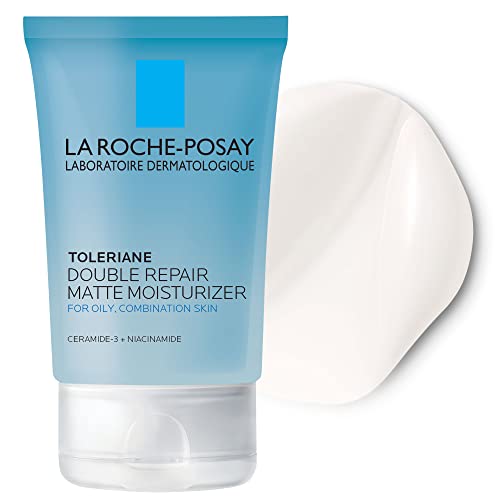
Step 9: Apply face cream
- Take a small amount of your preferred face cream.
- Gently massage the cream onto your face and neck.
- Use upward motions during the massage to promote better absorption.
- Repeat this step daily as part of your skincare routine for optimal results.
Remember to choose a face cream that suits your skin type and apply it after cleansing and toning your face. By following these simple instructions, you can nourish and hydrate your skin effectively.
Step 10: Wait for the face cream to absorb
After applying the face cream, give it some time to absorb completely into your skin. This will ensure that the product is fully effective and provides optimal results. Wait for a few minutes before applying any makeup or other skincare products to allow the face cream to fully penetrate your skin and work its magic.
Achieve the Perfect Canvas
In conclusion, a proper cleansing and exfoliation routine is essential for oily skin to improve the absorption of face cream. By using suitable products and maintaining consistency, you can maximize the benefits of your skincare routine and achieve healthier, more balanced skin.
Necessary Supplies


Skin Prep Tips
The Ultimate Routine for Oily Skin | Doctorly Routines
Application Tips for Best Results
- Cleanse your face with a gentle cleanser specifically formulated for oily skin
- Pat your face dry with a clean towel
- Take a small amount of the face cream for oily skin and apply it to your face using your fingertips
- Gently massage the cream into your skin using circular motions, focusing on areas that tend to be more oily
- Allow the cream to fully absorb into your skin before applying any makeup or other skincare products
- Apply the face cream twice a day, once in the morning and once at night, for best results
- Remember to always patch test any new product before applying it to your entire face to check for any adverse reactions
- Make sure to store the face cream in a cool, dry place to maintain its effectiveness
Frequently Asked Questions about Face Cream for Oily Skin
How does a face cream for oily skin differ from a regular face cream?
A face cream specifically formulated for oily skin differs from a regular face cream in several ways. Firstly, the ingredients used in oily skin creams are designed to regulate and control excess oil production on the skin. These creams often contain ingredients like salicylic acid, witch hazel, or tea tree oil, which help to reduce sebum production and prevent clogged pores.
Additionally, face creams for oily skin are usually lighter in texture and have a non-greasy or oil-free formula. This is because oily skin tends to produce more oil naturally, and using a heavy or greasy cream can exacerbate the problem by clogging pores and leading to breakouts.
Moreover, face creams for oily skin often have mattifying properties, which help to control shine and maintain a more matte appearance throughout the day. These creams may contain ingredients like silica or clay, which absorb excess oil and provide a more matte finish.
Lastly, face creams for oily skin may also have additional ingredients to address common concerns associated with oily skin, such as acne or enlarged pores. These creams may include ingredients like niacinamide, retinol, or antioxidants to help minimize breakouts and refine the skin’s texture.
Overall, the main difference between a face cream for oily skin and a regular face cream lies in its ability to regulate oil production, control shine, and address specific concerns associated with oily skin.

Hey, I’m Ava Wilson—a skincare enthusiast and a certified esthetician. I’m dedicated to sharing my knowledge and empowering others to achieve healthy, glowing skin through simple, effective routines and natural remedies. Join me on this exciting skincare journey, and let’s unlock your skin’s potential for a confident, beautiful you.


