This step-by-step guide provides instructions on how to prevent frizz using curl-enhancing cream. Frizz is a common frustration for those with curly hair, and this guide aims to help individuals achieve smooth and defined curls. By following these steps, readers will learn how to properly apply curl-enhancing cream and incorporate it into their hair care routine to effectively combat frizz and enhance their natural curls.
Luscious Curls in a Bottle
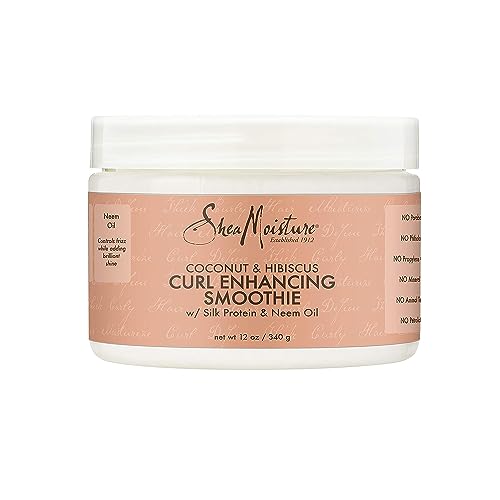

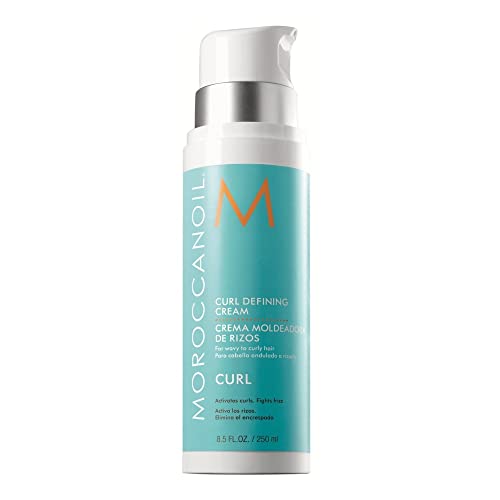
Choose a high-quality curl-enhancing cream
Research different brands and read reviews to find a curl-enhancing cream that works best for your hair type. Start by searching online for curl-enhancing creams and make a list of brands that catch your attention. Look for products that are specifically formulated to prevent frizz, as this will help enhance your curls without causing them to become unruly. Once you have a list of brands, read reviews from other customers to get an idea of how well the products work. Pay attention to reviews from people with similar hair types to yours, as their experiences will be more relevant to you. Take note of any recurring positive or negative feedback about each brand. This research will help you make an informed decision and choose a high-quality curl-enhancing cream that will give you the best results for your unique hair type.


Wash your hair with a sulfate-free shampoo
Sulfates, commonly found in many shampoos, can wreak havoc on your hair by stripping it of its natural oils. This often leads to dryness, frizz, and overall lackluster locks. Thankfully, there is a solution – switching to a sulfate-free shampoo! By opting for a sulfate-free option, you can effectively cleanse your hair without the negative side effects of drying it out.
To wash your hair with a sulfate-free shampoo, follow these simple steps:
- Wet your hair thoroughly with warm water.
- Squeeze a small amount of sulfate-free shampoo into the palm of your hand. The amount may vary depending on the length and thickness of your hair, but a dime-sized portion is a good starting point.
- Rub your hands together to distribute the shampoo evenly.
- Begin massaging the shampoo into your scalp using your fingertips. Make sure to focus on the roots of your hair, as this is where most of the oil buildup occurs.
- Gently work the shampoo through the lengths of your hair, using a downward motion to avoid tangling or knotting.
- Rinse your hair thoroughly with warm water until all of the shampoo is washed out. This may take a few minutes, but it’s important to ensure no residue is left behind.
- If desired, you can follow up with a sulfate-free conditioner for added hydration and manageability.
- Towel dry your hair gently, being careful not to rub or tug too harshly.
By incorporating sulfate-free shampoo into your hair care routine, you can enjoy clean and healthy hair without sacrificing its natural oils. Say goodbye to frizz and hello to luscious locks!

Apply a hydrating conditioner
After shampooing, take a generous amount of hydrating conditioner and distribute it evenly throughout your hair. Start by focusing on the ends, as they tend to be drier and more prone to frizz. Use your fingers or a wide-toothed comb to comb through the conditioner, ensuring it reaches every strand. Gently massage the conditioner into your hair, working your way up towards the roots. Leave the conditioner on for a few minutes to allow it to deeply penetrate and moisturize your hair. Rinse thoroughly with lukewarm water, making sure to remove all traces of the conditioner. Pat your hair dry gently with a towel, avoiding any rough movements that could cause damage. For best results, use a hydrating conditioner regularly to keep your hair nourished and frizz-free.

Towel dry your hair gently
- Avoid rubbing vigorously: To prevent frizz, do not rub your hair vigorously with the towel.
- Squeeze out excess water: Instead, gently squeeze your hair to remove any excess water. Start from the roots and work your way down to the ends.
- Pat dry: After squeezing out the water, pat your hair dry using the towel. Make sure to be gentle and avoid any rough movements.
- Use a blotting motion: Rather than rubbing, use a blotting motion to absorb the moisture. Press the towel against your hair and release, repeating this action until your hair is mostly dry.
- Let your hair air dry: Once you have gently towel dried your hair, let it air dry naturally to further reduce frizz and damage.
Remember, the key is to be gentle when towel drying your hair to avoid causing frizz and breakage.


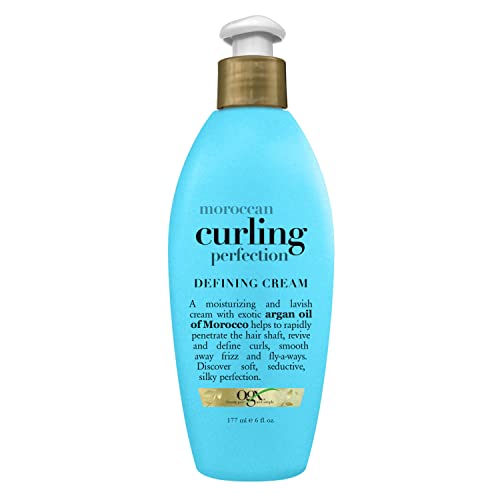
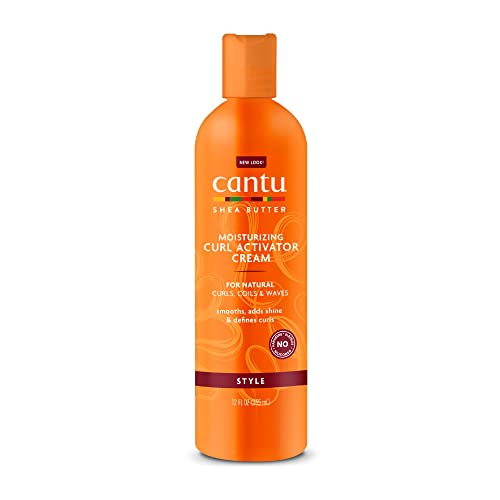
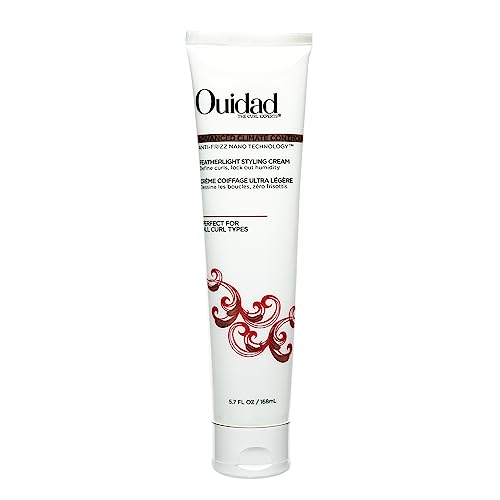
Apply a curl-enhancing cream
Take a small amount of curl-enhancing cream and squeeze it onto your palm. Start with a dime-sized amount and adjust according to the length and thickness of your hair.
Next, work the cream into your damp hair, making sure to distribute it evenly from roots to ends. Use your fingers to comb through your hair, ensuring that every strand is coated with the product.
Pay extra attention to areas prone to frizz, such as the crown and ends. Apply a little more cream to these sections, gently scrunching the hair to enhance the curl pattern.
Allow your hair to air dry or use a diffuser on low heat to dry your curls. Avoid touching or manipulating your hair too much during the drying process to prevent frizz. Once your hair is completely dry, style as desired and enjoy your beautifully defined curls.


Scrunch your hair with your hands
- Start with damp hair that has been freshly washed and conditioned.
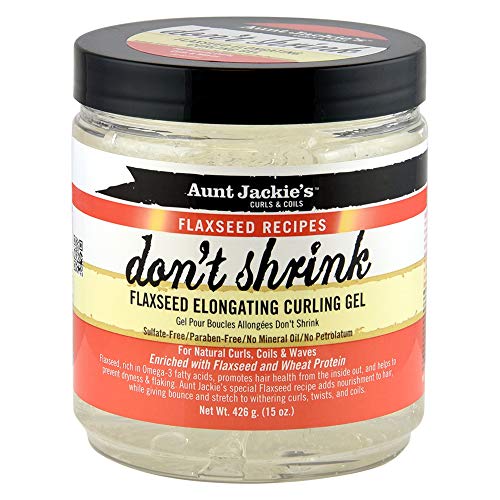
- Apply a curl-enhancing product, such as mousse or curl cream, to your hair.
- Divide your hair into sections to make it easier to work with.
- Take a section of hair and gently squeeze it from the ends upwards towards the roots.
- Repeat this scrunching motion with each section of hair, working your way around your head.
- Avoid raking your fingers through your hair or using a brush or comb, as this can cause frizz and disrupt the natural curl pattern.
- Continue scrunching until your hair feels evenly distributed and the curls are starting to form.
- Allow your hair to air dry or use a diffuser on low heat to speed up the drying process.
- Once your hair is completely dry, you can gently separate the curls with your fingers for added volume.
- To maintain the curls and prevent frizz, avoid touching your hair too much once it is dry.
Allow your hair to air dry or use a diffuser
- Step 1: Wash and condition your hair: Start by washing your hair with a curl-friendly shampoo and conditioner. Gently massage the products into your scalp, and rinse thoroughly.
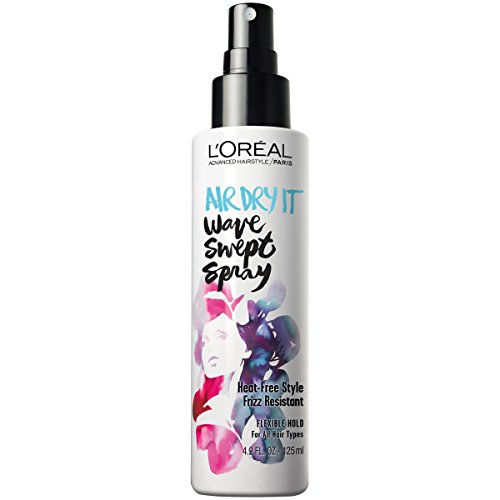
- Step 2: Apply leave-in conditioner or styling product: After showering, apply a leave-in conditioner or a curl-enhancing styling product to your damp hair. This will help define your curls and reduce frizz.
- Step 3: Allow your hair to air dry: Let your hair air dry naturally by avoiding the use of a hairdryer. Gently scrunch your hair with your hands from time to time to encourage curl formation. Avoid touching your hair too much while it’s drying to minimize frizz.
- Step 4: Use a diffuser attachment: If you’re in a hurry and prefer to use a hairdryer, attach a diffuser to it. Set the dryer to a low or medium heat setting to avoid damaging your hair. Hold the diffuser close to your scalp and move it around in circular motions to evenly distribute the heat. Scrunch your hair gently with the diffuser to enhance your curls.
- Step 5: Finish with a curl-defining product: Once your hair is dry, you can apply a curl-defining product such as mousse or a curl cream. This will help lock in your curls and reduce frizz throughout the day.
By following these steps, you can allow your hair to air dry naturally or use a diffuser to achieve beautifully defined curls with minimal frizz. Enjoy your gorgeous locks!
Achieve smooth, frizz-free curls
In conclusion, using curl-enhancing cream is a game-changer when it comes to preventing frizz and enhancing your natural curls. By simply following the steps outlined in this blog post, you can say goodbye to frizzy hair and say hello to beautiful, defined curls. So go ahead and give it a try – your hair will thank you!
Necessary Supplies


Frizz-free curls made easy
4 Ways to Prevent Frizzy Curls in Humid Weather
Step-by-Step Guide to Achieving Beautifully Defined Curls
- Start with clean, freshly washed hair
- Apply a small amount of curl-enhancing cream to your palm and rub your hands together to evenly distribute the product
- Gently scrunch your hair from the ends towards the roots, focusing on the areas where you want more definition and curl enhancement
- Avoid applying too much product, as it can weigh down your hair and make it look greasy. Start with a small amount and add more if needed
- Allow your hair to air dry or use a diffuser on low heat to enhance the curl pattern. Avoid using a towel to dry your hair, as it can lead to frizz
- Once your hair is completely dry, you can gently tousle and shape your curls with your fingers for a more natural look
- If desired, you can use a small amount of curl-enhancing cream on dry hair to refresh your curls and tame frizz throughout the day

Hey, I’m Ava Wilson—a skincare enthusiast and a certified esthetician. I’m dedicated to sharing my knowledge and empowering others to achieve healthy, glowing skin through simple, effective routines and natural remedies. Join me on this exciting skincare journey, and let’s unlock your skin’s potential for a confident, beautiful you.