Are you struggling with specific skin concerns and looking for a solution? Look no further! Our step-by-step guide on addressing skin concerns with a resurfacing face peel will guide you through the process with empathy and understanding. Whether you’re dealing with acne, fine lines, or dullness, a resurfacing face peel can work wonders for your skin. We’ll provide you with all the necessary information to achieve the results you desire. Say goodbye to your skin worries and hello to a rejuvenated, glowing complexion!
Top-selling skin rejuvenation treatment


Understand your skin concerns
Identify the specific skin concerns you want to address with a resurfacing face peel:
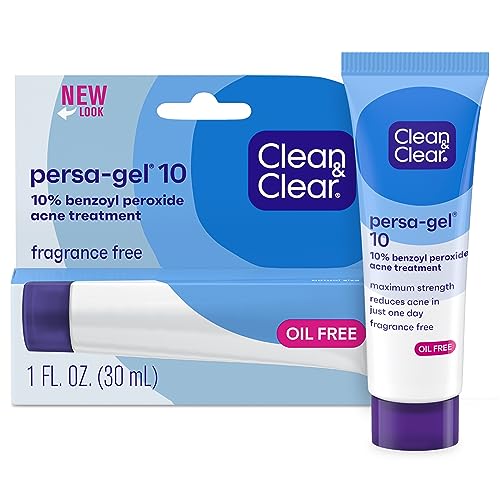
- Acne: If you struggle with acne breakouts or have acne-prone skin, a resurfacing face peel can help to unclog pores, reduce inflammation, and minimize the appearance of acne scars.
- Uneven skin tone: If you have patches of darker or lighter skin, a face peel can help to even out your complexion by removing dead skin cells and promoting cell turnover.
- Fine lines: Face peels can help to diminish the appearance of fine lines and wrinkles by stimulating collagen production and improving skin elasticity.
- Hyperpigmentation: If you have areas of excess pigmentation, such as dark spots or melasma, a face peel can help to lighten and reduce the appearance of hyperpigmentation.
Understanding your skin concerns will guide you in choosing the right type of face peel for your needs and determining how often you should use it.

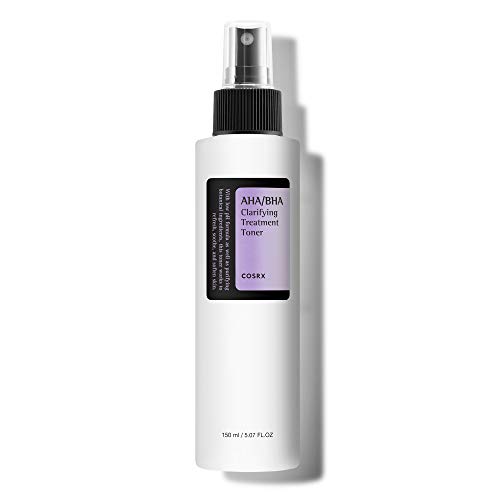
Research different resurfacing face peels
Researching different resurfacing face peels can be a daunting task, but with these simple steps, you’ll be well on your way to finding the perfect one for your skin. Start by exploring the market and familiarizing yourself with the range of options available. Look for peels that are specifically designed for your skin type, whether it’s oily, dry, sensitive, or combination. Next, consider your specific concerns, whether it’s uneven skin tone, acne scarring, or signs of aging. Read reviews from other customers to get a better idea of the effectiveness and potential side effects of the peels you’re interested in. Additionally, checking the ingredients list is crucial to ensure that the peel does not contain any allergens or irritants that may negatively affect your skin. If you’re unsure about which peel to choose, don’t hesitate to seek professional advice from a dermatologist or esthetician who can provide personalized recommendations based on your skin’s needs.


Prepare your skin
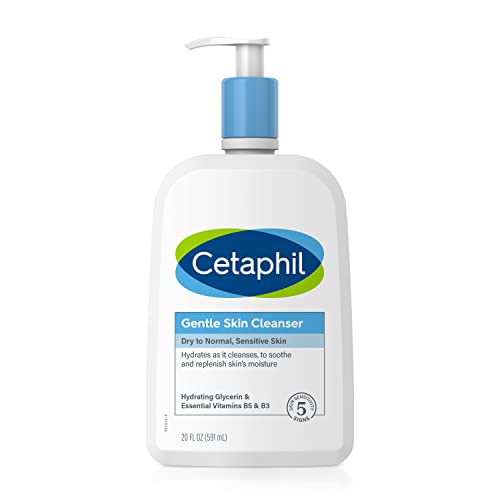
- Cleanse your face thoroughly: Start by wetting your face with warm water. Apply a gentle facial cleanser suitable for your skin type and massage it onto your face in circular motions for about one minute. Pay special attention to areas prone to oiliness or where makeup is typically applied, such as the T-zone. Rinse your face thoroughly with lukewarm water and pat dry with a clean towel.
- Exfoliate gently: After cleansing, take a small amount of a mild exfoliating scrub and apply it to your damp face. Use your fingertips to gently massage the scrub in circular motions for about 30 seconds to one minute, focusing on areas with rough or flaky skin. Be careful not to scrub too hard, as this can cause irritation. Rinse off the scrub with lukewarm water and pat your face dry.
- Follow specific peel instructions: Different face peels may have specific instructions provided by the manufacturer. It is important to carefully read and follow these directions to ensure the best results and avoid any potential side effects. For example, some peels may recommend applying a thin layer to the face and leaving it on for a specific amount of time before rinsing off with water, while others may require a neutralizing solution to stop the peeling process.
Remember, cleansing and exfoliating your face before using a face peel helps to remove any barrier that may prevent the peel from working effectively. By following these steps, you can achieve a clean and well-prepared canvas for your face peel to work its magic.


Perform a patch test
- Choose a small area: Select a small, inconspicuous area of your skin, such as behind your ear or on your inner forearm, to perform the patch test.
- Cleanse the area: Gently cleanse the chosen area with a mild cleanser and pat it dry. Ensure that the area is free from any other skincare products.
- Apply a small amount: Take a small amount of the face peel and apply it to the patch test area. Spread the product evenly and ensure it is fully absorbed into the skin.
- Wait for the recommended time: Refer to the product’s instructions to determine the recommended patch test time. Typically, it is advisable to wait 24 hours before proceeding.
- Observe for any reactions: After the recommended time has passed, carefully examine the patch test area for any signs of redness, irritation, or discomfort. If you experience any adverse reactions, such as itching or swelling, discontinue use immediately.
- Continue with caution: If no adverse reactions occur during the patch test, you can proceed with confidence to apply the face peel to your entire face. Remember to follow the instructions carefully for optimal results and to minimize any potential risks.


Apply the face peel
Using clean hands or a brush, start by evenly applying the face peel to your face, making sure to avoid the delicate eye and lip areas. Take care to follow the instructions provided, including the recommended amount of product to use and the duration of application. It is important to be cautious and not overapply the peel or leave it on for an excessive amount of time. By adhering to the provided guidelines, you can ensure a safe and effective application of the face peel, leaving your skin feeling refreshed and rejuvenated.

Allow the peel to work
Once applied, allow the face peel to work according to the recommended time. This is an essential step in the process as it allows the active ingredients in the peel to penetrate your skin and work their magic. Different peels have different recommended durations, so it’s crucial to follow the instructions provided with your specific product. Set a timer or keep track of the time to ensure you do not exceed the recommended duration. Over-leaving the peel on your skin can lead to irritation or even damage, so it’s important to be mindful of the time and not rush the process. Trust the peel to do its job and give it the necessary time to work effectively.
Rinse and moisturize
After the designated time has passed, rinse your face thoroughly with water to effectively remove the face peel. Make sure to use cool or lukewarm water, as hot water can strip away essential oils from your skin. Gently splash water onto your face, ensuring that all traces of the peel are completely washed away.
Next, gently pat your face dry with a clean towel. Avoid rubbing or scrubbing, as this can irritate the skin. Instead, use a soft towel and lightly press it against your skin to absorb the excess water. Take care to pat your face gently, paying attention to sensitive areas such as the under-eye region.
Once your face is dry, it’s time to replenish moisture to your skin. Choose a moisturizer that is appropriate for your skin type and apply it evenly all over your face. If you have oily skin, opt for a lightweight, oil-free moisturizer. For dry skin, a richer, cream-based moisturizer will provide extra hydration.
Here are a few examples:
- For those with normal to combination skin, rinse your face with cool water, pat dry gently, and then apply a water-based moisturizer. This will help maintain the balance of moisture in your skin without leaving it feeling greasy.
- If you have dry skin, rinse your face with lukewarm water, pat dry gently, and then apply a nourishing cream moisturizer. Look for ingredients like hyaluronic acid or shea butter to deeply hydrate and restore moisture to your skin.
Remember, regular moisturizing is key to maintaining healthy, hydrated skin. By following these simple steps, you can ensure that your skin remains nourished and protected after using a face peel.
Final thoughts on resurfacing peels
In conclusion, incorporating a resurfacing face peel into your skincare routine can be a powerful tool for addressing specific skin concerns. By taking the time to understand your skin’s needs, researching suitable peels, and following the proper application and aftercare steps, you can achieve noticeable improvements in texture, tone, and overall skin health. However, it is essential to prioritize your skin’s well-being and seek professional advice from a dermatologist when necessary. With the right approach, you can confidently navigate the world of resurfacing face peels and achieve the glowing, radiant complexion you desire.
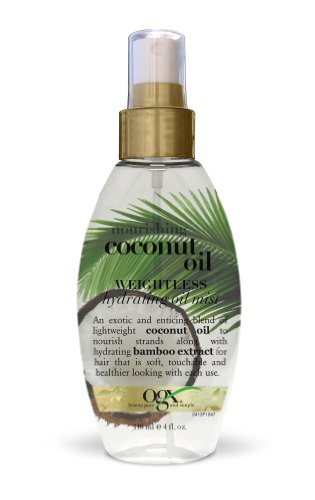
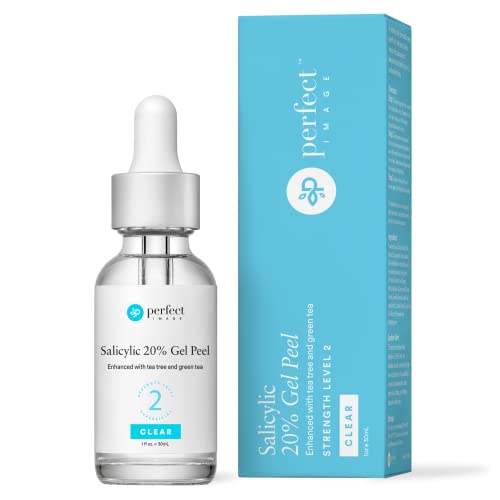
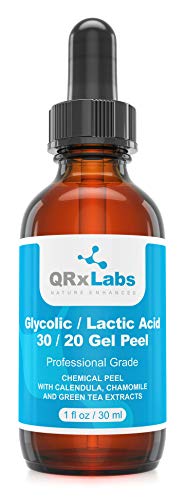
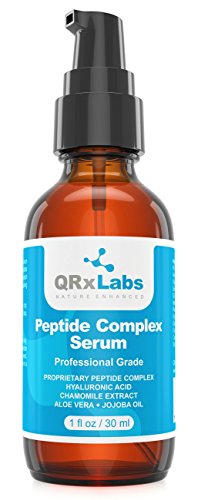
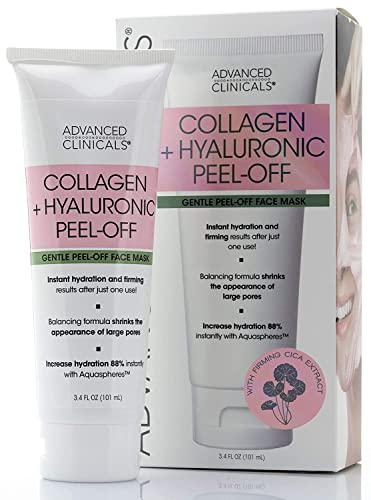
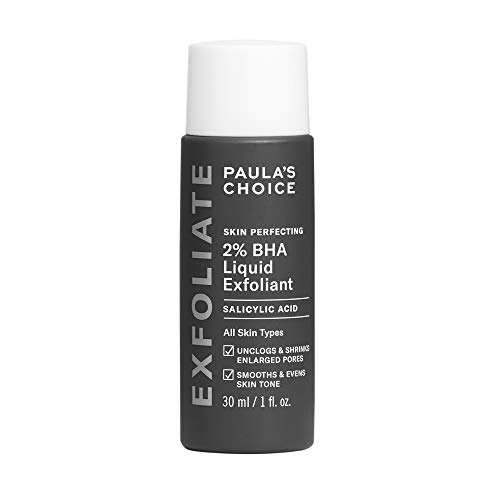
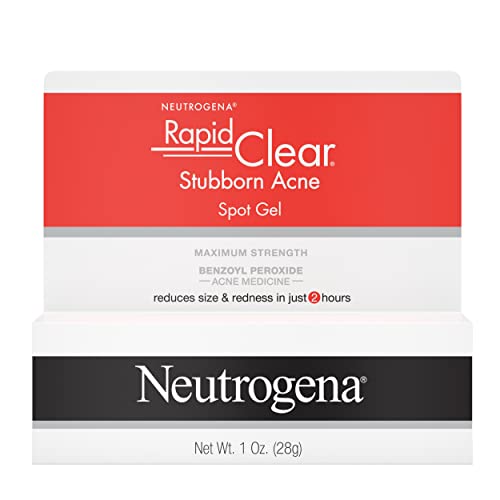
Necessary Supplies


Skin Transforming Techniques

Hey, I’m Ava Wilson—a skincare enthusiast and a certified esthetician. I’m dedicated to sharing my knowledge and empowering others to achieve healthy, glowing skin through simple, effective routines and natural remedies. Join me on this exciting skincare journey, and let’s unlock your skin’s potential for a confident, beautiful you.