Fade Acne Scars Faster — The Smart 6-Step Home Plan
This SMART six step plan gives practical proven home methods to reduce acne scars fast using simple routines, targeted topicals, gentle tools, sun protection, and clear progress tracking at home.
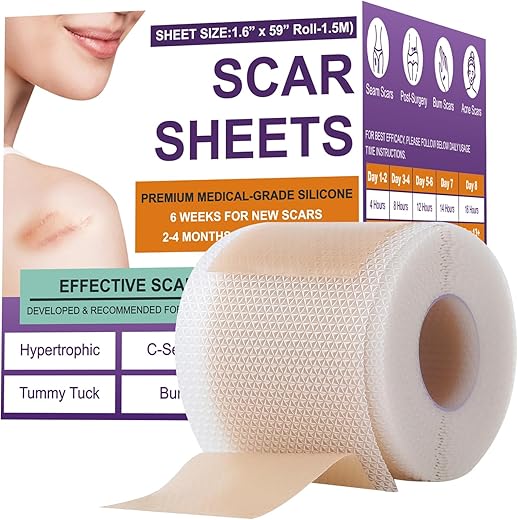
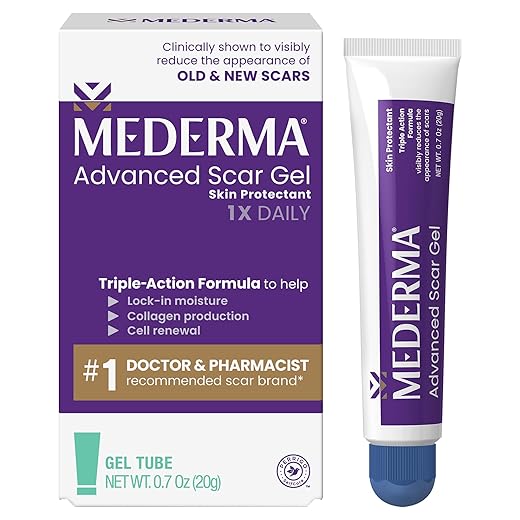
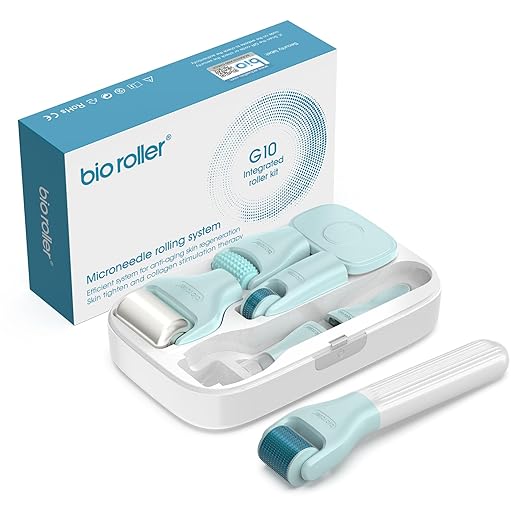
What You’ll Need
Erase Acne Marks: 3 Proven Home Remedies That Actually Work
Step 1 — Know Your Scars and Prepare Your Skin
Are you treating dark spots or dents? One quick check changes everything.Identify your scar type: post‑inflammatory hyperpigmentation (flat dark marks), atrophic scars (ice‑pick or boxcar depressions), or hypertrophic/keloid scars (raised). Match treatments accordingly — pigment usually fades faster than deep pits.
Cleanse twice daily with a gentle, non‑stripping face wash. Stop picking or squeezing; for example, apply a cold compress and cover fresh spots with a hydrocolloid dot to prevent new scarring.
Patch‑test any new product on the jawline for 48 hours to catch irritation early.
Prep also means repairing the barrier — use a light moisturizer for a week before starting active treatments to reduce irritation risk.
Step 2 — Build a Consistent Cleansing and Exfoliation Routine
Exfoliate smart, not hard — your skin responds to chemistry more than scrubbing.Cleanse gently twice daily with a non‑stripping gel or cream cleanser to remove oil and debris without damaging your skin barrier. For example, use a fragrance‑free gel in the morning and a cream cleanser at night if skin feels dry.
Introduce chemical exfoliants instead of scrubs. Use a BHA (salicylic acid 1–2%) for clogged pores and a gentle AHA (glycolic 5–10% or mandelic 10%) for surface texture and dark spots.
Start slowly, increase based on tolerance, and monitor redness or stinging. Exfoliation accelerates cell turnover to reveal fresher skin and improve penetration of serums that fade scars.

Step 3 — Targeted Topicals: The Power Trio
Skip miracle creams: use three evidence-backed actives in the right order for fast results.Layer effective actives to lighten scars faster. Use targeted serums morning and night to address pigment, inflammation, and collagen loss.
Apply thin layers, wait 2–3 minutes between products, and always patch‑test. Start slowly: introduce one active at a time to minimize irritation, because inflammation can worsen scarring and pigmentation.

Step 4 — Safe At-Home Procedures That Actually Help
Microneedling and peels at home? Yes — but don’t be reckless; follow the rules.Use at-home microneedling (0.25–0.5 mm) every 2–4 weeks to boost product absorption and stimulate collagen. Disinfect the roller (soak in 70% isopropyl for 5–10 minutes), and always sanitize skin before use.
Perform superficial chemical peels with 10–20% glycolic or mandelic in short, controlled sessions (e.g., 1–3 minutes), then neutralize and follow with soothing moisturizer.
Use LED red light therapy 10–20 minutes daily or several times weekly to reduce inflammation and support healing.
Monitor the skin closely and avoid any procedure on active acne or inflamed lesions.
Stop and consult a pro if you see prolonged redness, pain, or signs of infection. When done correctly, these modalities speed results without clinical downtime.
Step 5 — Sun Protection and Lifestyle Hacks That Speed Healing
Sunscreen is non-negotiable — one slip can erase weeks of progress.Block sun and support healing: apply a broad‑spectrum sunscreen SPF 30–50 every morning and reapply every two hours when outdoors. Wear a wide‑brim hat and seek shade (avoid peak sun 10 a.m.–4 p.m.).
Support skin from the inside: hydrate, get 7–9 hours sleep, avoid smoking, and eat anti‑inflammatory foods (vitamin C: citrus/berries; zinc: oysters/nuts; omega‑3s: salmon/flax). Keep makeup minimal on treated areas until irritation subsides.

Step 6 — Track Progress, Troubleshoot, and Know When to See a Pro
If it’s not improving in months, don’t wait — escalate smartly.Start a progress log: take a baseline photo and repeat every 2–4 weeks in the same light, angle, and distance (e.g., phone on a tripod by a window).
Take standardized photos every 2–4 weeks to judge true progress. Expect pigment to improve in 6–12 weeks and deeper scars to need months of treatment. If you hit a plateau, try rotating actives, increasing treatment frequency slowly, or combining modalities (for example, microneedling plus topical vitamin C). Watch for red flags: worsening hyperpigmentation, infection, severe irritation, or raised keloid formation — stop treatments and consult a dermatologist. For persistent deep scars, professional options like laser resurfacing, office microneedling with PRP, or subcision may be required. Be patient and consistent; realistic timelines and professional guidance optimize fast, safe results.

Start Today, See Real Change
Follow these six steps consistently, protect your skin, and track progress; most see meaningful improvement in weeks to months. Try it, share your results, and book pro care if needed.

Hey, I’m Ava Wilson—a skincare enthusiast and a certified esthetician. I’m dedicated to sharing my knowledge and empowering others to achieve healthy, glowing skin through simple, effective routines and natural remedies. Join me on this exciting skincare journey, and let’s unlock your skin’s potential for a confident, beautiful you.


Haha I tried “fade scars fast” and my only fast result was my patience running out 😂
All jokes aside, the section about ‘when to see a pro’ saved me money — tried a few home gadgets that did nothing until I invested in one good in-office treatment.
Which in-office treatment did you go for? Laser or microneedling?
Glad the guide helped you avoid wasted money, Marcus. Cheap at-home gadgets often overpromise.
Huge question: microneedling at home vs. professional? The guide mentions safe at-home procedures but I’m nervous. Any experiences?
Also note: in-office has numbing and controlled depths; results are faster but pricier. Home is for maintenance.
I did professional microneedling (1.5mm) and saw real texture improvement. Skipped at-home altogether after hearing horror stories about infections.
I used a 0.3mm derma-roller occasionally for product absorption — kept it clean and only used on healed skin. Small benefits, nothing dramatic.
Great question. Home dermarolling should be superficial (0.25–0.5 mm) and very careful; higher depths should be left to pros. Follow strict hygiene and don’t roll over active acne. If unsure, book a consult.
Love the lifestyle hacks section — sleep and diet actually make a difference. Cut out late-night pizza and my face seemed calmer within a week (might be placebo but I’ll take it). Also: hydrate and manage stress.
Small callout: include more about inflammation-reducing foods (omega-3s, etc.) next time.
Does anyone track sleep with apps and notice correlation? I started logging and it’s wild how sleep debt shows up on my skin.
Yes! Cutting sugar helped me. Not magic but my breakouts decreased.
Great nudge — we’ll add a short inflammation diet subsection on the next update. Omega-3s and antioxidants do help overall skin health.
I’ve been skeptical but my dermatologist said lifestyle is 30% of the equation. Worth trying.
Useful roundup but feels a bit basic in parts. Like, I get the steps, but what about concentrations? Saying ‘use vitamin C’ is vague — which % is safe to combine with AHAs/retinoids?
Agree — the guide touched on that later but could’ve used a quick chart. I started with 0.3% retinol and it’s been gentler than 1% for me.
Good point, Daniel. For beginners: vitamin C (L-ascorbic acid) at 10-15% is effective and well tolerated; AHAs like glycolic at 5-10% for regular use; retinol start at 0.25-0.3% OTC and move up. Always separate actives if irritation occurs.
Short and sweet: followed steps 1-3, added sunscreen, and shadows are fading. Honestly just being consistent beat my previous random skincare binges.
That’s the main takeaway we hoped readers would get — consistency > complexity. Nice work, Noah!
Consistency is the brutal secret. 😂 Any favorite cleanser you used?
Just finished the guide — super practical! I started using the “power trio” (retinoid, vitamin C, AHA) like it suggests and added SPF every morning. Small improvements already after 3 weeks. Sunscreen honestly changed EVERYTHING for me.
Tip for anyone starting: go slow with acids and retinoids, patch test! 😊
Would love that 4-week plan pls 🙏 I’m terrified of purging from retinoids.
So glad it’s working for you, Emma! Yep — patch testing and gradual introduction are key. If you ever want a simple 4-week ramp-up plan, I can post one.
Same here — my skin went through a week of chaos last time. Curious what you used: a tretinoin or OTC retinol?
I appreciate the exfoliation advice but would love clearer guidance on frequency. The guide says ‘build a consistent cleansing and exfoliation routine’ — but for various skin types?
For example:
– Oily/acne-prone: how many times a week should I AHA/BHA?
– Dry/sensitive: should I avoid acids entirely or use lactic at low %?
Would’ve liked a small schedule sample. Otherwise, good tips on layering SPF and tracking progress.
Totally fair. Quick starters:
– Oily/acne-prone: BHA 2–3x/week (can increase as tolerated), AHA 2x/week. Avoid over-exfoliating.
– Dry/sensitive: gentle lactic 1–2x/week, or avoid acids and focus on vitamin C + moisturizing actives.
– Everyone: sunscreen daily.
If you’d like I’ll draft a sample weekly schedule.
I do BHA every other day and AHA once a week — my skin tolerates it but I back off if I get redness.
If in doubt, reduce frequency + patch test. I ruined a week with daily glycolic once 😅
Not convinced about at-home ‘procedures’ — the guide lists things that ‘actually help’ but a lot of at-home devices are shady. What’s safe and evidence-backed here?
If a device promises instant dramatic results, it’s probably too good to be true. Go by reviews and scientific backing.
I bought an LED mask and saw reduced redness — it’s slow but consistent use helped. Cleanliness and patience are key.
Fair concern. Safe at-home options with decent evidence: low-concentration chemical peels (AHA/BHA, low %), 0.25–0.5 mm microneedling for product absorption only, LED red light for inflammation and healing. Avoid high-depth needling, aggressive lasers, or anything that causes open wounds at home.
Long post warning — but this actually helped me make sense of my routine.
I used to do 5 different products every night and nothing changed. Following the “Know Your Scars” step made me realize mine are mostly post-inflammatory hyperpigmentation (flat dark spots), not deep pitted scars. So I focused on chemical exfoliation + vitamin C, added sunscreen like the guide says, and started tracking with photos.
Week 4: lighter spots. Week 8: friends noticed. I still have pitted scars but those need in-office help (microneedling/fillers), as step 6 mentions.
Small note: patience is brutal but tracking photos helps keep you motivated.
I use a mineral SPF with SPF50 and it layers fine under makeup. No white cast on me (medium skin).
Thanks for the timeline — can I ask what SPF you used? I’ve tried chemical filters and physical ones and get different results 😕
Fantastic breakdown, Priya — thanks for sharing your timeline. This is exactly why step 6 emphasizes tracking and realistic expectations.
This guide gave me permission to stop expecting overnight miracles. It’s actually comforting — step 6 about ‘know when to see a pro’ resonated because my scars are deep and I needed that reality check.
Also, tracking photos helped my mental health: seeing gradual change reduced my anxiety about my skin. ❤️
Real talk — mental health + skin care is a combo that matters. Good on you for tracking progress.
Thank you for sharing that, Hannah. The emotional side of skin issues is huge and often overlooked. Glad the guide helped.