In this step-by-step guide, you will learn how to customize your lip balm by adding essential oils and flavors. This will allow you to create a personalized product that not only keeps your lips moisturized but also provides additional benefits and a delightful scent.
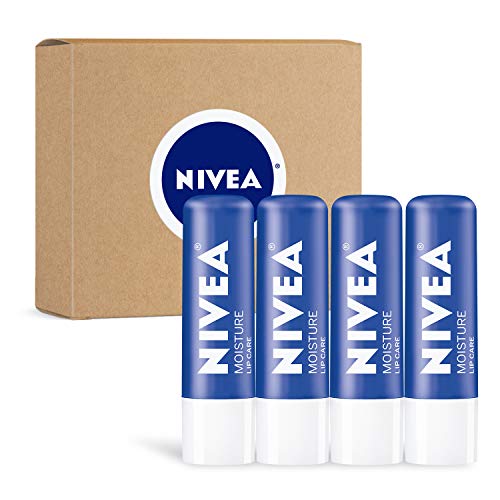
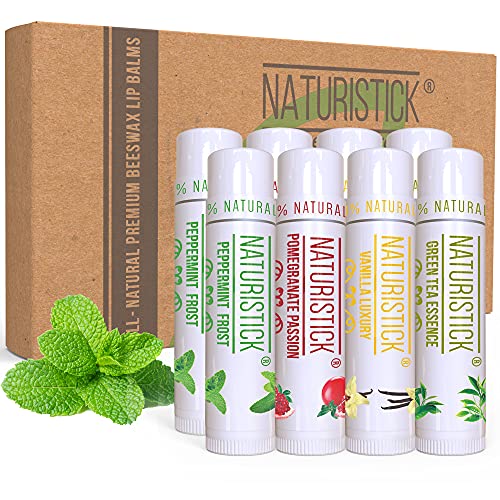
Top Lip Balms for Hydration


Gather the Ingredients and Tools
To begin making lip balm, gather all the necessary ingredients and tools. You will need:
- Beeswax
- Coconut oil
- Shea butter
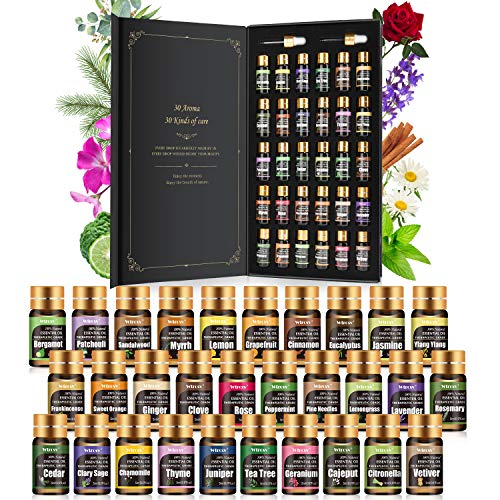
- Essential oils
- Lip balm tubes or containers
- A heat-resistant measuring cup
- A double boiler or microwave-safe bowl
- A stirring utensil
Make sure you have all these items on hand before starting the process.


Melt the Beeswax, Coconut Oil, and Shea Butter
To melt the beeswax, coconut oil, and shea butter, follow these steps:
- Gather the ingredients: Collect the desired amounts of beeswax, coconut oil, and shea butter.
- Prepare a double boiler or microwave-safe bowl: Set up a double boiler by placing a heat-resistant bowl over a pot of simmering water. Alternatively, use a microwave-safe bowl if you prefer using a microwave.
- Add the ingredients: Place the beeswax, coconut oil, and shea butter into the bowl or the top part of the double boiler.
- Melt the ingredients: Heat the water in the pot or microwave the bowl in short intervals, stirring frequently until the ingredients are completely melted and well combined. This process usually takes a few minutes.
- Handle with caution: Be cautious when handling the hot ingredients, as they can cause burns. Use oven mitts or heat-resistant gloves to protect your hands.
- Stir occasionally: While melting the ingredients, stir occasionally to ensure they are fully melted and evenly blended.
- Continue until well combined: Keep stirring the mixture until the beeswax, coconut oil, and shea butter are thoroughly combined, creating a smooth and homogeneous mixture.
- Use as required: Once melted and well combined, the mixture is ready to be used in your desired recipe. Be sure to follow the specific instructions for your intended use.
- Clean up: After use, clean the double boiler or microwave-safe bowl with warm soapy water to remove any residue.
By following these steps, you can easily melt the beeswax, coconut oil, and shea butter to create a smooth and consistent mixture for your desired use.
Add Essential Oils for Fragrance
Once the beeswax, coconut oil, and shea butter have melted, remove the mixture from heat and allow it to cool slightly. Add a few drops of your preferred essential oils to the mixture and thoroughly stir. Select essential oils that are safe for topical use and complement your desired fragrance.


Incorporate Flavors for Taste
Incorporate Flavors for Taste
To add flavors to your lip balm, follow these simple steps:
- Choose your flavor: Select lip-safe flavor oils or natural extracts. Some popular options include vanilla, peppermint, strawberry, or citrus.
- Start small: Begin by adding a small quantity of your chosen flavor to your lip balm mixture. This will allow you to adjust the intensity of the flavor according to your taste preferences.Example: Add a few drops of vanilla extract to your lip balm mixture.
- Stir thoroughly: Use a clean spoon or a stirring rod to mix the flavor into the lip balm base. Make sure the flavor is evenly distributed throughout the mixture.Example: Stir the vanilla extract into the lip balm base until well combined.
- Taste and adjust: Test a small amount of the flavored lip balm on your lips to determine if the flavor is to your liking. If you want a stronger flavor, add more in small increments. If it’s too strong, dilute it with more lip balm base.Example: Apply a small amount of the lip balm to your lips and determine if the vanilla flavor is too subtle or overpowering. Adjust accordingly.
Remember to start with a small quantity of flavor and gradually increase until you achieve the desired taste. Enjoy experimenting with different flavors and creating your own unique lip balm recipes!
Pour the Mixture into Lip Balm Tubes or Containers
- Carefully pour the lip balm mixture into lip balm tubes or containers.
- Fill the tubes or containers to the desired level, leaving a little space at the top for easy application.
- Allow the lip balm to cool and solidify completely before moving to the next step.


Label and Decorate Your Lip Balm
After your lip balm has solidified, take waterproof labels and markers to write the ingredients and flavor names on the containers. Be sure to use clear and legible handwriting. If desired, add decorative stickers or tie ribbons around the containers to personalize them. This will give your lip balm a professional and customized look.
Store Your Customized Lip Balms
To ensure the quality and longevity of your customized lip balms, follow these simple storage instructions:
- Choose a cool, dry place: Find a location away from direct sunlight, as excessive heat can cause the lip balms to melt or lose their effectiveness. A cupboard or a drawer in a room with stable temperature is ideal.
- Keep out of reach: Store your lip balms in a place inaccessible to children and pets. Lip balms may contain ingredients that could be harmful if ingested, so it is crucial to store them securely to prevent any accidents.
By following these instructions, you can keep your customized lip balms in excellent condition, ready for use whenever you need them.
Apply and Enjoy Your Homemade Lip Balm
- Twist and Apply: Twist the tube or open the container to access your customized lip balm. Hold the tube with one hand or use your fingers to scoop out a small amount of balm from the container.
- Smooth Application: Gently glide the lip balm across your lips, starting from the center and moving towards the corners. Apply a thin, even layer for optimal coverage and moisture.
- Reapply as Needed: Throughout the day, reapply your homemade lip balm whenever your lips feel dry or in need of a boost. You can apply it directly to bare lips or on top of lipstick for added hydration and shine.
- Savor the Benefits: Experience the moisturizing properties of your homemade creation as it nourishes and protects your lips from dryness and harsh weather conditions. Enjoy the delightful flavors and scents that you incorporated into your lip balm, making your application an enjoyable sensory experience.
- Examples: For instance, if you made a peppermint lip balm, each application will leave a refreshing and cooling sensation on your lips. Similarly, a lavender-infused lip balm can provide a soothing and calming effect as you apply it.
Remember, the key to enjoying your homemade lip balm is to apply it regularly and savor the results. Feel the difference as your lips become soft, supple, and well-moisturized.
Experiment with Different Combinations
- Experiment with Different Combinations: Feel free to experiment with different combinations of essential oils and flavors to create unique lip balm variations. Mix and match scents and tastes to find your favorite personalized blend.
- Try Different Combinations: Mix and match essential oils and flavors to create your own unique lip balm blends. Explore various scents and tastes to find the perfect combination that suits you best.
- Create Your Own Unique Blends: Don’t be afraid to experiment with different combinations of essential oils and flavors to create your own personalized lip balm variations. Discover a wide range of scents and tastes to find the perfect blend that matches your preferences.
Final Thoughts
In conclusion, customizing your lip balm with essential oils and flavors is a fun and easy way to create a personalized beauty product. By following the steps outlined in this blog post, you can make your own unique lip balm creations that not only moisturize and nourish your lips but also provide a delightful fragrance and taste. So go ahead and get creative with your homemade lip balms and enjoy the benefits of this customizable beauty product.
Necessary Supplies


Enhance Your Lip Balm
Creating Flavored Homemade Lip Balms
Application Instructions
- Apply a thin layer: Start by applying a thin layer of moisturizing lip balm onto your lips. This will help to keep them hydrated without feeling heavy or greasy
- Use before bed: Before going to bed, apply a generous amount of lip balm to help replenish moisture overnight. This will leave your lips feeling soft and supple in the morning
- Reapply throughout the day: As needed, reapply the lip balm throughout the day to maintain moisture. This is especially important in dry or cold environments, or if you frequently lick your lips
- Protect from the sun: Look for a moisturizing lip balm with SPF to protect your lips from harmful UV rays. Apply it before heading outdoors, especially during sunny days or extended sun exposure
- Exfoliate before application (optional): For smoother and more effective application, you can gently exfoliate your lips using a soft toothbrush or lip scrub before applying the lip balm. This will help to remove dead skin cells and allow the balm to penetrate better
Frequently Asked Questions about Moisturizing Lip Balm
What is a moisturizing lip balm and what does it do?
A moisturizing lip balm is a product specifically formulated to hydrate and protect the lips. It is typically made with ingredients like beeswax, shea butter, or oils that help to retain moisture and prevent dryness. When applied to the lips, the balm forms a protective barrier that locks in moisture, preventing chapping and cracking. Additionally, many lip balms contain nourishing ingredients like vitamins and antioxidants to keep the lips healthy and smooth. Overall, a moisturizing lip balm serves the purpose of keeping the lips moisturized, soft, and protected from the elements.
Are there any natural or organic options available for moisturizing lip balms?
Yes, there are several natural and organic options available for moisturizing lip balms. These lip balms are made from ingredients derived from plants, such as beeswax, shea butter, coconut oil, almond oil, and essential oils. They do not contain synthetic chemicals, artificial fragrances, or petroleum-based ingredients. These natural and organic lip balms provide hydration, nourishment, and protection to the lips while keeping them soft and smooth. Many reputable brands offer a wide range of natural and organic lip balms that cater to different preferences and needs.

Hey, I’m Ava Wilson—a skincare enthusiast and a certified esthetician. I’m dedicated to sharing my knowledge and empowering others to achieve healthy, glowing skin through simple, effective routines and natural remedies. Join me on this exciting skincare journey, and let’s unlock your skin’s potential for a confident, beautiful you.