This step-by-step guide will teach you how to correctly apply a firming face mask. By following these steps, you can maximize the benefits of your mask and achieve a more youthful complexion.
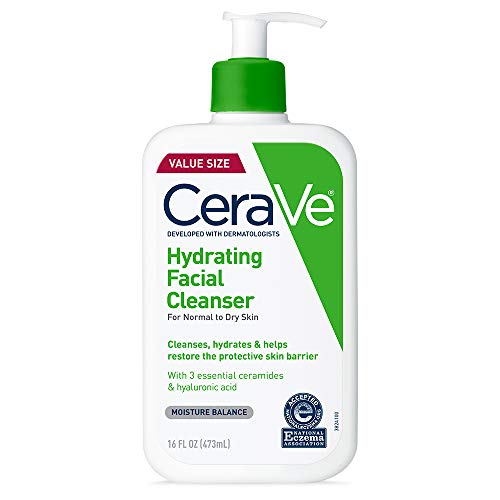
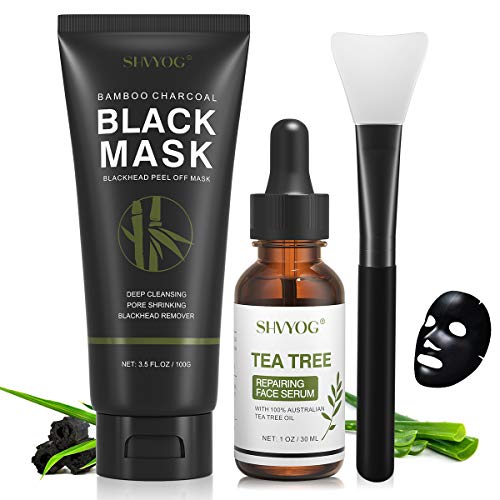
Top-rated masks for firming skin


Cleanse Your Face
- Wet your face with warm water to open up your pores.
- Squeeze a small amount of cleanser onto your fingertips and gently massage it onto your face in circular motions.
- Pay extra attention to areas prone to oiliness or where makeup tends to accumulate, like the T-zone and along the hairline.
- Rinse your face with lukewarm water until all traces of cleanser are removed.
- Pat your face dry with a clean towel, being careful not to rub or tug at your skin.
- Your face is now ready for the next step in your skincare routine.
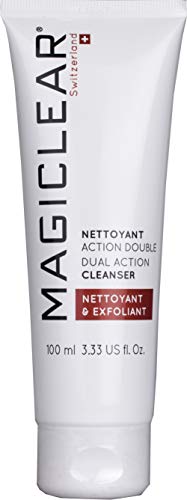
Exfoliate Your Skin
Next, exfoliate your skin to remove dead skin cells and promote better absorption of the firming mask. Take a small amount of a gentle scrub or exfoliating cleanser and massage it onto your damp skin using circular motions. Ensure you cover your entire face, paying special attention to areas with rough or flaky skin. After a gentle scrub, rinse off with warm water and pat your skin dry using a soft towel.
Prepare the Face Mask
To prepare your firming face mask, first, carefully read and follow the instructions provided on the packaging. This may involve mixing the ingredients together or applying the mask directly from the packaging. Ensure you have the necessary tools, such as a brush or spatula, to apply the mask evenly on your face.
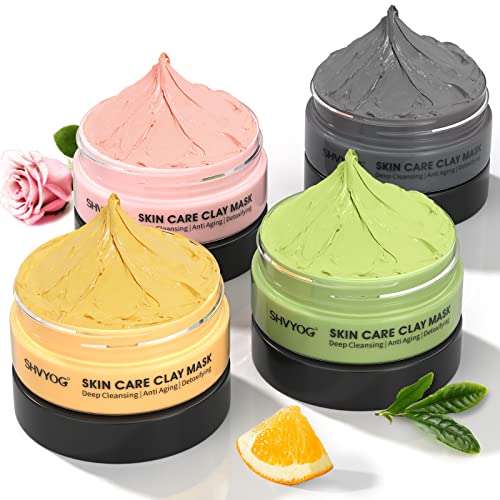

Apply the Face Mask
Step 1: Prepare the ToolsGet ready to apply the firming face mask by gathering your tools. You can use your fingers, a brush, or a spatula for this task. Whichever tool you choose, ensure it is clean and dry before starting.
Step 2: Apply the MaskTake a small amount of the firming face mask and apply it to your entire face, excluding the delicate eye area. To achieve optimal coverage, apply the mask in a thin and even layer. Starting from the center of your face, gently spread the mask outwards, working towards the edges. Make sure every part of your skin is covered, leaving no gaps or missed spots.
Example: Imagine you are spreading butter on a slice of toast. Use smooth, outward strokes to evenly distribute the mask across your skin. Keep the layer thin to allow for maximum absorption and avoid the mask feeling heavy on your face.
Step 3: Avoid the Eye AreaBe cautious not to apply the firming face mask to your eye area. The skin around the eyes is delicate and requires special attention. Instead, focus on the rest of your face, ensuring an even application.
Example: Imagine drawing a circle around your eyes with an invisible marker. Keep the mask outside of this circle, allowing the eye area to remain free of any product.
Step 4: Complete CoverageCheck to see if the mask has covered your entire face. Ensure there are no areas where the skin is exposed or where the mask is unevenly applied. Take an extra moment to inspect the hairline, jawline, and around the nose, as these areas are sometimes missed.
Example: Imagine you are a detective examining a crime scene. Pay attention to the details and make sure the mask has left no evidence of uncovered skin.
Congratulations! You have successfully applied the firming face mask. Now, sit back, relax, and let the mask work its magic on your skin.
Relax and Wait
- Apply the mask to your face and make sure it covers your entire skin.
- Find a cozy spot where you can relax and let the mask do its work.
- Look at the packaging to see the recommended time for leaving the mask on, which is typically between 10 to 20 minutes.
- During this time, take the opportunity to unwind and pamper yourself.
- Close your eyes, listen to soothing music, or read a book to enhance the relaxation experience.
- Avoid touching or adjusting the mask while waiting for it to dry.
- Once the recommended time has passed, gently remove the mask using a damp cloth or rinse your face with warm water.
- Pat your skin dry and feel the refreshed and rejuvenated effects of the mask.


Massage the Mask
After the recommended time has passed, gently massage the mask into your skin using circular motions. Apply slight pressure with your fingertips as you work the mask into your face. This will further promote blood circulation and enhance the firming effect. Take your time and enjoy the luxurious feel of the mask on your skin.
Rinse Off
- Thoroughly rinse off the face mask with lukewarm water: Gently splash lukewarm water onto your face, ensuring that every inch of your skin is in contact with the water. Allow the water to flow over your face, washing away the mask. Take your time to ensure all areas are rinsed.
- Remove all traces of the mask from your skin: Use your fingertips to gently massage your face in circular motions, helping to loosen any remaining mask. Pay extra attention to areas where the mask may have accumulated, such as around the nose or along the hairline. Continue rinsing until you feel confident that all traces of the mask have been removed.
- Aid in the removal process with a soft cloth or sponge: If needed, dampen a soft cloth or sponge with lukewarm water. Gently pat it onto your face, using light, sweeping motions to help remove any stubborn bits of the mask. Remember to be gentle and avoid harsh scrubbing, as this can irritate the skin.
- Pat your face dry with a clean towel: Once you have thoroughly rinsed off the mask, it’s time to gently pat your face dry. Grab a clean, soft towel and lightly press it against your skin, absorbing any excess water. Avoid rubbing the towel harshly on your face, as this can cause unnecessary friction and potentially irritate the skin.
Tone Your Skin
After rinsing off the mask, apply a toner to your skin using a cotton pad. Gently swipe the cotton pad across your face, focusing on areas that need extra attention. Allow the toner to fully absorb into your skin before proceeding to the next steps of your skincare routine.
Moisturize Your Skin
Apply a moisturizer suitable for your skin type after completing your firming face mask routine. Lock in hydration and nourish your skin by gently massaging the moisturizer into your face and neck. Keep your skin soft and supple with this final step.
Repeat Regularly
To achieve the best results with your firming face mask, it is important to repeat the routine regularly, as recommended by your specific product. Consistency is key in maintaining healthy, firm skin. For example, if your face mask advises using it twice a week, make sure to follow this instruction diligently. Set a schedule and stick to it, whether it’s every Monday and Thursday or every other day. By repeating the routine regularly, you will allow the active ingredients in the face mask to work effectively and continuously, enhancing the firmness and overall health of your skin.
Achieving Youthful, Firm Skin
In conclusion, applying a firming face mask correctly is essential for achieving the best results. By carefully following the steps outlined in this blog post, you can ensure that you are maximizing the benefits of your face mask and promoting a healthier complexion. Remember to choose a face mask that is suitable for your skin type and concerns, and incorporate this routine into your skincare regimen for long-lasting, glowing results. Embrace the rejuvenating power of a firming face mask and enjoy the benefits of refreshed, toned skin.
Necessary Supplies


Application Techniques
Step-by-Step Guide to Using the Firming Face Mask
- Start by cleansing your face thoroughly to remove any dirt or makeup
- Gently pat your face dry with a clean towel
- Apply a thin, even layer of the firming face mask to your entire face, avoiding the eye area
- Leave the mask on for the recommended time mentioned on the product packaging. This is typically around 10-15 minutes
- Relax and let the mask work its magic. You may feel a slight tightening or tingling sensation during this time
- Once the time is up, rinse off the mask with lukewarm water. Make sure to remove all traces of the mask from your face
- Pat your skin dry with a clean towel and follow up with a moisturizer to lock in hydration
- Use the firming face mask once or twice a week, depending on your skin type and the instructions provided with the product
Frequently Asked Questions about Firming Face Masks
Can a firming face mask be used on the neck and décolletage?
Yes, a firming face mask can be used on the neck and décolletage. The skin on these areas is similar in nature to the face and can benefit from the same ingredients and treatments. Firming face masks often contain ingredients like collagen, hyaluronic acid, peptides, and antioxidants, which help improve skin elasticity and reduce the appearance of wrinkles. Applying the mask to the neck and décolletage can help tighten and firm the skin in these areas, resulting in a more youthful and lifted appearance. However, it is always recommended to check the instructions or consult with a dermatologist before applying any skincare product to ensure it is suitable for the specific area.

Hey, I’m Ava Wilson—a skincare enthusiast and a certified esthetician. I’m dedicated to sharing my knowledge and empowering others to achieve healthy, glowing skin through simple, effective routines and natural remedies. Join me on this exciting skincare journey, and let’s unlock your skin’s potential for a confident, beautiful you.


