In this step-by-step guide, you will learn how to enhance the effectiveness of a detoxifying face mask by adding extra steps. By following these techniques and tips, you can optimize the benefits of your face mask and achieve a more efficient detoxification process for your skin.
Purify and rejuvenate your skin


Cleanse your face
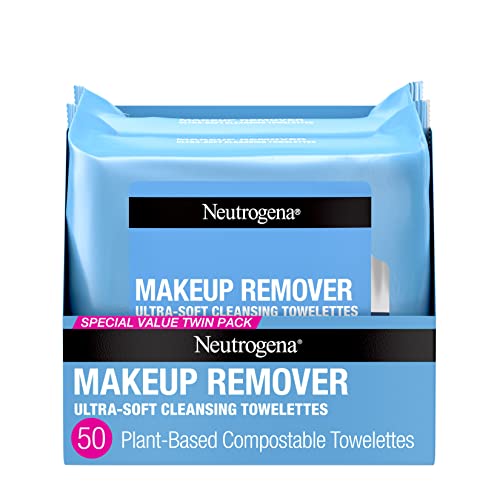
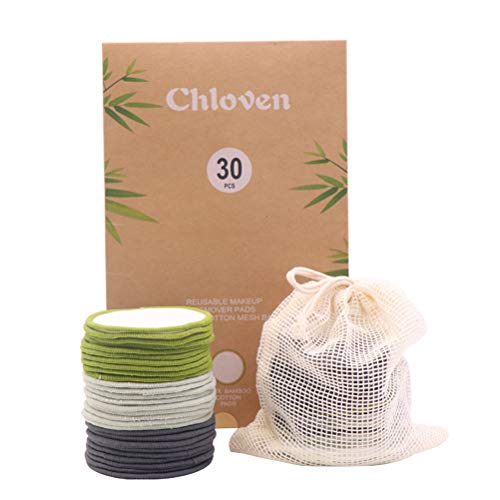
Start by thoroughly cleansing your face to remove any dirt, oil, and makeup. Begin by wetting your face with lukewarm water. Squeeze a small amount of gentle cleanser onto your fingertips. Gently massage the cleanser onto your face using upward circular motions. Pay extra attention to areas prone to oiliness or breakouts, such as the T-zone. Be sure to avoid harsh scrubbing, as this can irritate the skin.
After massaging the cleanser onto your face for about 30 seconds, rinse your face with lukewarm water. Make sure to rinse off all the cleanser, as leaving residue can clog pores and lead to breakouts. Pat your face dry with a clean towel, being careful not to rub or tug at your skin.
If you wear heavy makeup or waterproof products, you may need to double cleanse. To do this, repeat the cleansing process with the gentle cleanser. This will ensure that all traces of makeup are completely removed from your face.
Remember to cleanse your face twice a day, once in the morning and once at night, to keep your skin clean and healthy.

Exfoliate your skin
Exfoliation is an essential step in your skincare routine as it helps in removing dead skin cells and unclogging your pores, allowing the face mask to penetrate deeper into your skin. To achieve a radiant and refreshed complexion, follow these simple steps:
- Choose your exfoliant: There are two main types of exfoliants available – physical scrubs and chemical exfoliants. Physical scrubs contain small particles that physically slough off dead skin cells when gently massaged onto the face. On the other hand, chemical exfoliants contain ingredients such as alpha-hydroxy acids (AHAs) or beta-hydroxy acids (BHAs) that dissolve dead skin cells. Choose the exfoliant that suits your skin type and preferences.
- Prepare your skin: Before exfoliating, ensure your face is clean and free from any makeup or impurities. Use a mild cleanser to wash your face, and gently pat it dry with a clean towel.
- Apply the exfoliant: Take a small amount of the exfoliant and apply it to your face. If using a physical scrub, gently massage it in circular motions, focusing on areas where dead skin cells tend to accumulate, like the nose, forehead, and chin. For chemical exfoliants, follow the instructions on the product and leave it on for the specified duration.
- Be gentle: While exfoliating, remember to be gentle to avoid irritating or damaging your skin. Use light pressure and avoid scrubbing too vigorously, especially if you have sensitive skin.
- Rinse thoroughly: After exfoliating, rinse your face with lukewarm water to remove all traces of the exfoliant. Make sure to rinse thoroughly, ensuring no residue is left behind.
- Moisturize: Exfoliation can leave your skin feeling slightly dry, so it is essential to follow up with a moisturizer. Apply a hydrating moisturizer to replenish moisture and keep your skin nourished.
By incorporating regular exfoliation into your skincare routine, you can enjoy the benefits of a smoother, brighter complexion. Remember to exfoliate only 1-2 times per week, as over-exfoliating can cause irritation.
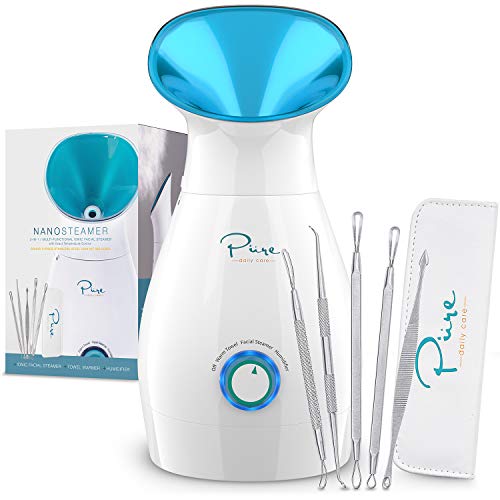

Steam your face
- Prepare a bowl of hot water: Fill a bowl with hot water, making sure it’s not too hot to avoid burning your skin.
- Cover your head with a towel: Place a towel over your head, creating a tent-like structure to trap the steam. Ensure it covers your head and the bowl, forming a seal to prevent the steam from escaping.
- Lean over the bowl: Carefully lean over the bowl, ensuring your face is at a comfortable distance from the hot water. Maintain a safe distance to prevent any burns or discomfort.
- Steam for 5-10 minutes: Stay in this position for about 5-10 minutes, allowing the steam to work its magic. Take slow, deep breaths to fully enjoy the benefits of the steam.
- Optional: If desired, you can add essential oils or herbs to the hot water to enhance the steam’s effects. Lavender, chamomile, or tea tree oil are popular choices, but be cautious if you have sensitive skin or allergies.
Remember, steaming helps open up your pores and enhances the detoxifying effect of any face mask you plan to use afterward. It’s a great way to prepare your skin for further treatments and ensure maximum benefits.
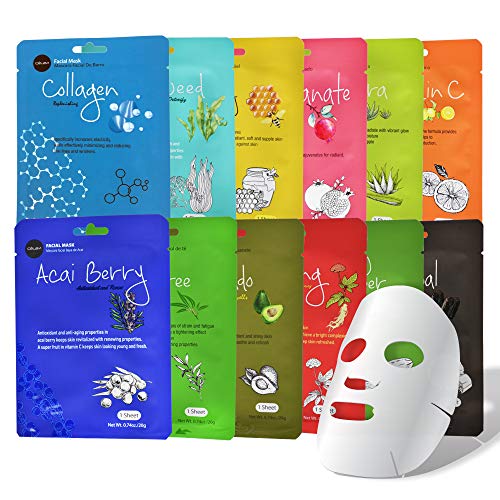
Apply the detoxifying face mask
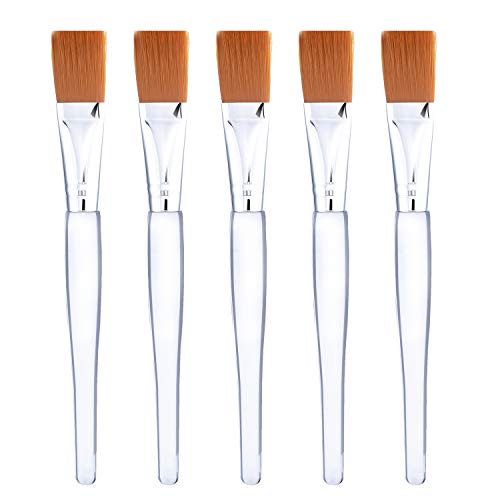
Apply the detoxifying face mask by first following the instructions provided on the packaging. Ensure that your skin is cleansed and exfoliated before proceeding. Take a sufficient amount of the mask and evenly spread it across your face, making sure to avoid the delicate eye and mouth areas. Use gentle, upward strokes to apply the mask, ensuring complete coverage. Allow the mask to sit on your skin for the specified duration mentioned in the instructions. During this time, relax and avoid any unnecessary facial movements. Once the time is up, gently rinse off the mask with lukewarm water, ensuring that all traces of the mask are removed. Pat your face dry with a soft towel and follow up with your regular skincare routine. Enjoy the refreshed and revitalized feeling of your detoxified skin.

Massage your face
Massage your face gently in upward circular motions for 1-2 minutes. Start by applying a facial mask of your choice evenly on your clean and dry skin. Using your fingertips, begin at the center of your face and work your way outwards, moving in circular motions. Apply slight pressure as you massage, but be careful not to tug or pull on your skin. Continue this motion for the recommended time, ensuring that you cover all areas of your face, including your forehead, cheeks, nose, and chin. This massage technique will not only help the mask penetrate deeper into your skin but also stimulate blood circulation, leaving your complexion refreshed and rejuvenated.


Leave the mask on
- Start by cleansing your face with a gentle cleanser to remove any dirt or makeup residue.
- Gently pat your skin dry with a clean towel, ensuring that your face is clean and free from any moisture.
- Open the face mask packaging and unfold the mask carefully, making sure not to tear it.
- Place the mask on your face, aligning the cutouts for your eyes, nose, and mouth.
- Smooth out any air bubbles or wrinkles on the mask to ensure full contact with your skin.
- Relax and let the mask sit on your skin for the recommended time mentioned on the packaging. This can range from 10 to 20 minutes depending on the mask.
- Use this time to unwind, read a book, or listen to some calming music to enhance your experience.
- Avoid touching or adjusting the mask during this time to allow the active ingredients to penetrate deeply into your skin.
- After the recommended time has passed, gently remove the mask and discard it.
- Massage any remaining serum or essence from the mask onto your face and neck, allowing your skin to fully absorb the benefits.
- Follow up with your usual skincare routine, such as applying moisturizer or serum, to seal in the benefits of the face mask.
Remember, leaving the mask on for the recommended time allows the active ingredients to work effectively and provide your skin with the detoxifying benefits it needs. Enjoy this pampering ritual and embrace the rejuvenated glow of your skin afterwards.
Rinse and moisturize
After the recommended time, gently rinse off the face mask with lukewarm water. Use your hands or a soft cloth to ensure all traces of the mask are removed. Avoid using hot water, as it can strip your skin of its natural oils and cause dryness. Next, pat your face dry with a clean towel, avoiding any harsh rubbing that can irritate the skin.
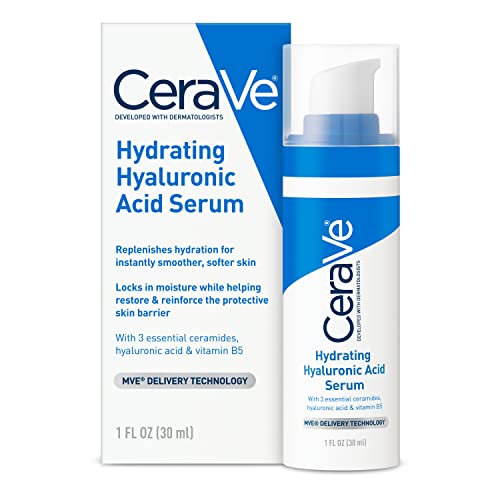
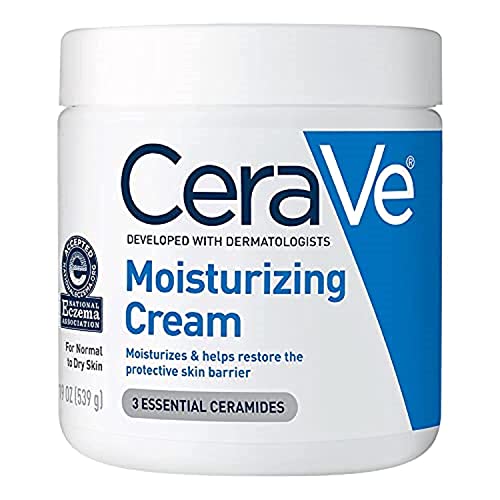
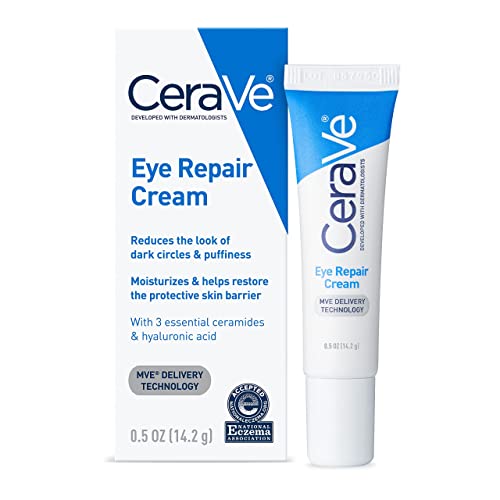
Once your face is dry, it’s time to replenish and hydrate your skin with a moisturizer. Here’s how to do it effectively:
- Take a pea-sized amount of moisturizer onto your fingertips.
- Dot the moisturizer onto your forehead, cheeks, nose, and chin.
- Gently massage the moisturizer into your skin using upward circular motions. This helps to stimulate blood circulation and ensures the product is fully absorbed.
- Don’t forget to extend the application down to your neck and décolletage for a complete skincare routine.
- Allow the moisturizer to fully absorb into your skin before applying any makeup or going to bed.
Remember, moisturizing is an essential step in maintaining a healthy skincare routine. It helps to lock in moisture, prevent dryness, and keep your skin looking plump and youthful. So, don’t skip this crucial step!
Maximizing Results with Extra Techniques
In conclusion, incorporating these additional steps into your skincare routine can significantly boost the efficiency of your detoxifying face mask. The combination of exfoliation, steam, and proper hydration will help to deeply cleanse and nourish your skin, leaving it looking radiant and rejuvenated. By taking these extra measures, you can unlock the full potential of your detoxifying face mask and achieve a healthier complexion.
Necessary Supplies


Enhance Mask Results

Hey, I’m Ava Wilson—a skincare enthusiast and a certified esthetician. I’m dedicated to sharing my knowledge and empowering others to achieve healthy, glowing skin through simple, effective routines and natural remedies. Join me on this exciting skincare journey, and let’s unlock your skin’s potential for a confident, beautiful you.