Learn how to make your own DIY hydrating face mist at home with this step-by-step guide. Customize the ingredients to suit your skin’s needs and save money in the process.
Refresh and Rehydrate Your Skin


Gather the Ingredients
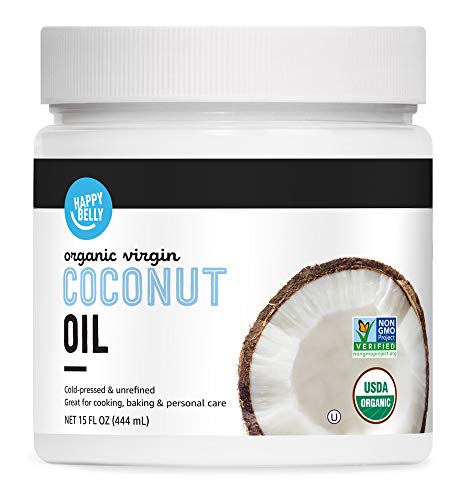
Collect the necessary ingredients to create your own hydrating face mist. Start by gathering distilled water, rose water, aloe vera gel, and essential oils of your choice. These ingredients will come together to form a refreshing mist that will leave your skin feeling hydrated and revitalized.
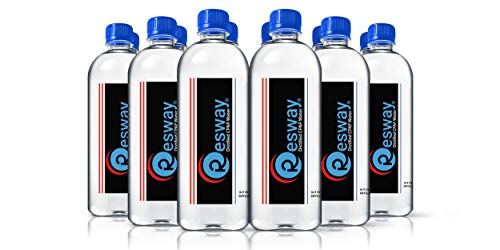
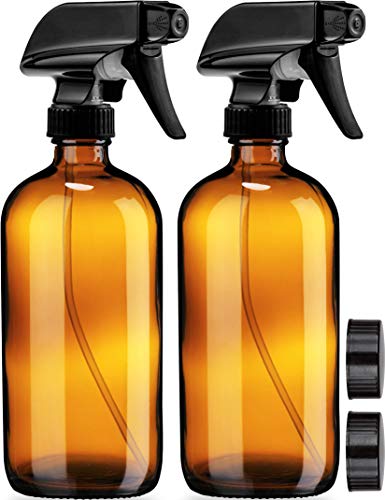
To begin, find a bottle or spray container to store your face mist. Make sure it is clean and sterilized before use to maintain the freshness of the ingredients. Next, locate distilled water, which will serve as the base of your mist. Distilled water is free from impurities and provides optimum hydration for your skin.
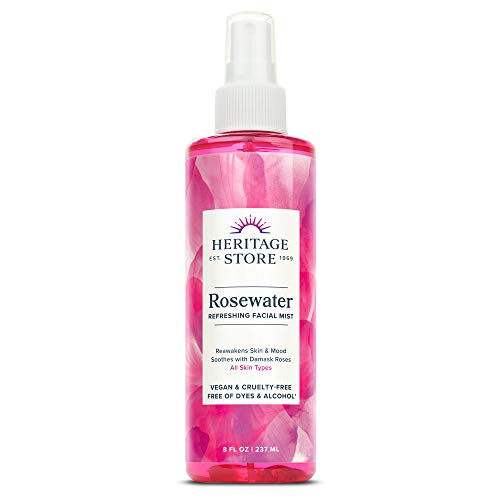
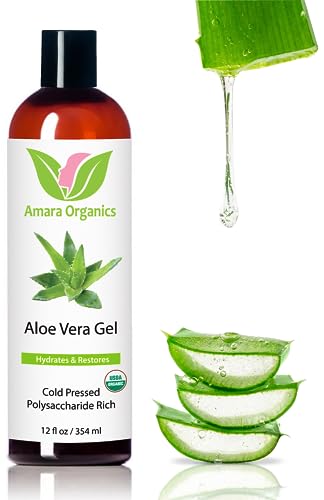
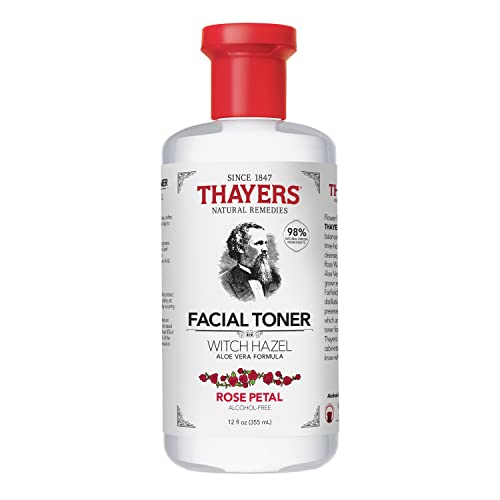
Once you have the distilled water, find rose water, a natural ingredient known for its soothing and hydrating properties. Rose water helps to balance the pH of your skin and adds a subtle floral scent to your mist. Look for aloe vera gel, which is renowned for its moisturizing effects. It will help to lock in moisture and provide a calming sensation for your skin.
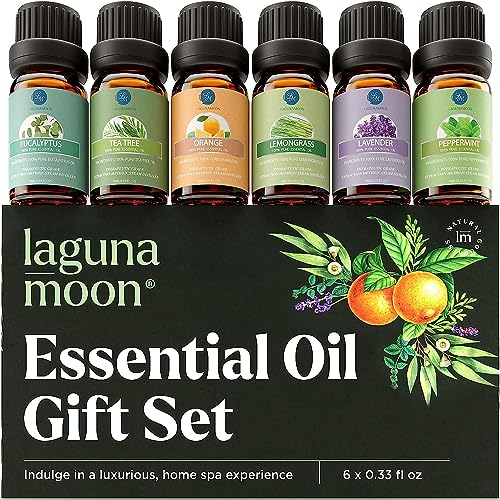
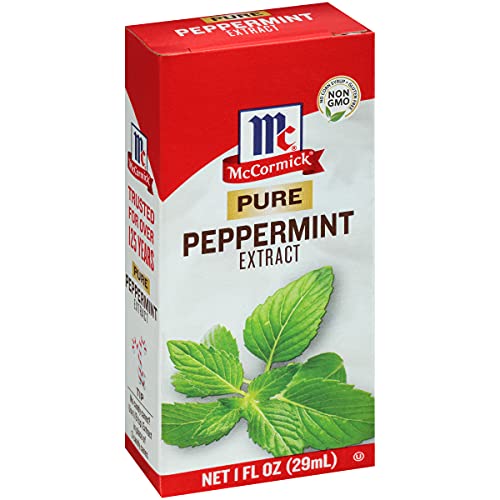
Lastly, choose your favorite essential oils to add a personal touch to your face mist. Whether you prefer lavender for relaxation, tea tree for its antibacterial properties, or citrus oils for a refreshing aroma, select the ones that suit your preference.
By gathering these ingredients beforehand, you will be fully prepared to create a customized, hydrating face mist that will keep your skin feeling fresh and rejuvenated.


Prepare the Spray Bottle
- Clean the spray bottle: Take a clean spray bottle and rinse it with warm water.
- Ensure cleanliness: Rinse the bottle thoroughly to remove any residue or contaminants.
- Maintain purity: Ensure that the spray bottle is free from any impurities to maintain the purity of your face mist.
- Use warm water: Rinse the bottle with warm water to effectively remove any possible contaminants.
- Inspect for cleanliness: Check that the spray bottle is clean and free from any visible residue before proceeding.
- Dry the bottle: After rinsing, allow the spray bottle to air dry completely before filling it with your face mist.


Measure and Mix the Ingredients
To measure and mix the ingredients for this DIY toner, you will need a measuring cup. Start by combining 1/4 cup of distilled water and 1/4 cup of rose water in the measuring cup. The rose water acts as a natural toner, helping to balance the skin’s pH and tighten pores.
Next, add 1 tablespoon of aloe vera gel to the mixture. Aloe vera gel is known for its hydrating properties, making it a great addition to this toner. It helps to moisturize the skin and soothe any irritation.
To add a pleasant fragrance and additional benefits, choose your preferred essential oil and add 5-10 drops to the mixture. There are various essential oils to choose from, each with its own unique properties. For example, lavender essential oil has calming and anti-inflammatory effects, while tea tree essential oil has antibacterial and acne-fighting properties.
Once you have added all the ingredients to the measuring cup, mix them together well. You can use a spoon or a small whisk to ensure everything is thoroughly combined. Once mixed, transfer the toner into a clean bottle or container for storage.
By following these simple steps, you can easily create your own homemade toner that not only provides hydration and a natural toning effect but also offers the benefits of your chosen essential oil. Enjoy the refreshing and nourishing qualities of this DIY toner in your skincare routine.


Shake Well
Secure the lid of the spray bottle tightly to prevent any leakage. Once secured, vigorously shake the bottle for at least 30 seconds. Make sure to hold the bottle with a firm grip to avoid any accidents. By shaking the bottle well, you will ensure that all the ingredients, including the aloe vera gel and essential oils, are thoroughly mixed. This will result in a more effective mist, as the aloe vera gel and essential oils will be evenly distributed throughout the solution. Remember, the key is to shake the bottle with enough force to create a proper mix, so don’t hesitate to give it a good shake!
Store and Use
Store: Find a cool and dark place, away from direct sunlight, to store your DIY hydrating face mist. This will ensure that the ingredients remain fresh and effective for longer periods. Consider placing it in a cupboard or drawer in your bathroom or bedroom.
Use: Hold the bottle of face mist about 6-8 inches away from your face. Gently press down on the nozzle to release a fine mist. Close your eyes and move your hand in a circular motion to evenly distribute the mist across your face. Take a deep breath and enjoy the refreshing sensation. Repeat as desired throughout the day or incorporate it into your skincare routine by applying it after cleansing and before moisturizing.
Example: Store your DIY hydrating face mist in a cool and dark place, such as your bathroom cabinet or dresser drawer, away from any windows or areas exposed to direct sunlight. This will help preserve the quality and effectiveness of the mist. When it’s time to use it, hold the bottle at a distance of 6-8 inches from your face. Gently press the nozzle to spray a fine mist over your skin, making sure to close your eyes before application. Move your hand in a circular motion to ensure even coverage, and take a moment to relax and enjoy the revitalizing sensation. You can incorporate the mist into your daily skincare routine by using it after cleansing and before applying moisturizer.


Customize and Experiment
- Explore different essential oils: Start by selecting a base oil such as rosehip oil, aloe vera gel, or witch hazel. These will provide the foundation for your face mist. Experiment with various essential oils like lavender, tea tree, chamomile, or rosemary. Each essential oil has its own unique properties and benefits for the skin, so feel free to mix and match to find the perfect combination for your needs.
- Adjust the ratio: Depending on your skin type and concerns, you can adjust the ratio of ingredients in your DIY face mist. For example, if you have sensitive or dry skin, you may want to use a higher ratio of hydrating ingredients like aloe vera gel or rosehip oil. On the other hand, if you have oily or acne-prone skin, you might want to increase the amount of witch hazel or tea tree oil for their astringent and antibacterial properties. Experiment with different ratios until you find the right balance that suits your skin.
- Blend the scents: One of the perks of creating your own face mist is the opportunity to create a signature scent. Mix and match essential oils to create a pleasing aroma that suits your preferences. For a calming and relaxing mist, try combining lavender and chamomile. For an invigorating and refreshing mist, experiment with citrus oils like lemon and grapefruit. Be sure to keep track of the combinations you try so that you can recreate your favorites in the future.
- Test and observe: Once you have customized your face mist, it’s time to test it out. Spritz it onto your face after cleansing or whenever your skin needs a pick-me-up. Observe how your skin reacts and feels after using the mist. Is it hydrating enough? Does it help control oiliness? Does it soothe redness or irritation? Make note of any changes or improvements you notice, as well as any negative reactions. This will help you refine your formula and make adjustments if needed.
Remember, customization is key when creating your own DIY face mist. Don’t be afraid to experiment with different essential oils, adjust the ratio of ingredients, and explore various scents. With a bit of trial and error, you’ll discover the perfect blend that caters to your skin’s unique needs and leaves you feeling refreshed and revitalized.
The Final Verdict
In conclusion, creating your own DIY hydrating face mist at home is a fantastic way to take control of your skincare routine. With just a few simple steps and natural ingredients, you can enjoy the benefits of a personalized face mist that keeps your skin hydrated and refreshed. Not only is it cost-effective, but it also gives you the satisfaction of creating your own skincare product. So why not give it a try and elevate your skincare routine to a whole new level?
Necessary supplies


Beauty Hacks
Quick and Easy Glycerin Face Mist Tutorial #shorts
Step-by-Step Guide for Using Hydrating Face Mist
- Start by cleansing your face using a gentle cleanser
- Shake the hydrating face mist bottle to mix the ingredients thoroughly
- Hold the bottle about 6-8 inches away from your face and close your eyes
- Spray a few pumps of the mist onto your face, ensuring even coverage
- Gently pat the mist into your skin using your fingers or a clean cotton pad
- Allow the mist to fully absorb into your skin before applying any other skincare or makeup products
- Use the hydrating face mist as a refreshing pick-me-up throughout the day, whenever your skin feels dry or needs a boost of hydration
Frequently Asked Questions about Hydrating Face Mist
Can a hydrating face mist be used as a substitute for moisturizer?
A hydrating face mist cannot be used as a substitute for moisturizer. While a face mist can provide temporary hydration and refreshment to the skin, it is not designed to provide the same level of moisturization as a dedicated moisturizer. Moisturizers are formulated with specific ingredients that help to nourish and hydrate the skin, improve its barrier function, and lock in moisture. They also provide a protective layer to prevent water loss from the skin. On the other hand, face mists are primarily meant to provide a quick burst of hydration, often containing water or a blend of water and botanical extracts. They can be used in conjunction with a moisturizer to enhance hydration or as a refreshing mist throughout the day, but they do not offer the same long-lasting moisturizing benefits as a dedicated moisturizer.

Hey, I’m Ava Wilson—a skincare enthusiast and a certified esthetician. I’m dedicated to sharing my knowledge and empowering others to achieve healthy, glowing skin through simple, effective routines and natural remedies. Join me on this exciting skincare journey, and let’s unlock your skin’s potential for a confident, beautiful you.