Learn how to make your own antioxidant-rich serum at home with this step-by-step guide. Antioxidant serums protect your skin from free radicals and promote a healthy, youthful look.
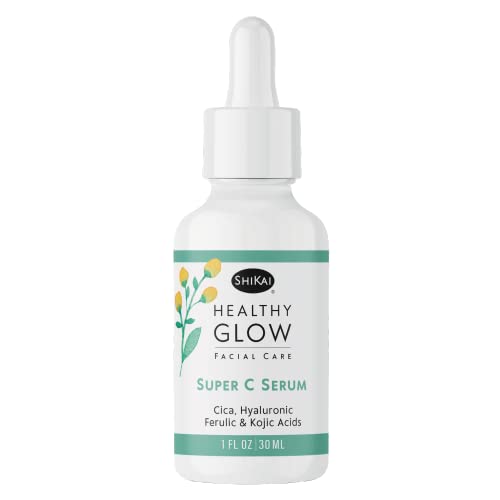
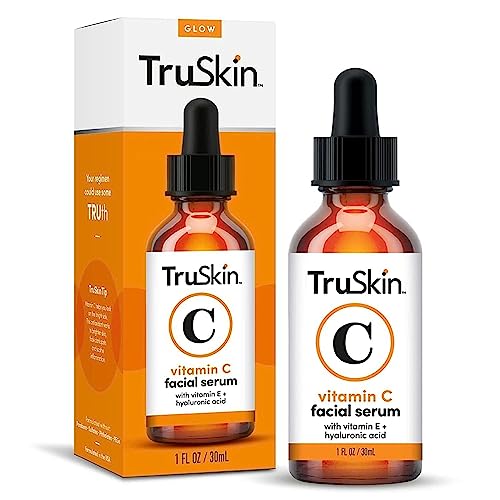
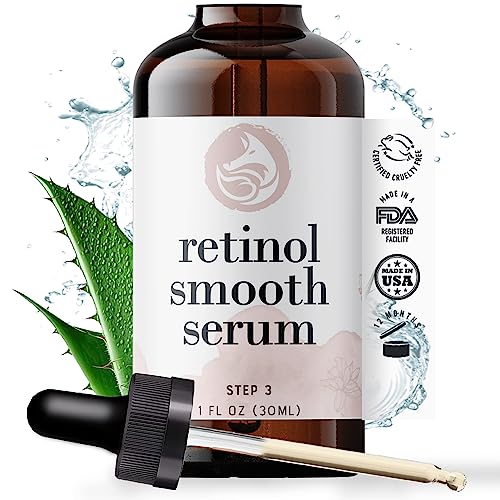
Top-selling Antioxidant Serum

Gather Ingredients
- Collect all the necessary ingredients for making your antioxidant-rich serum.
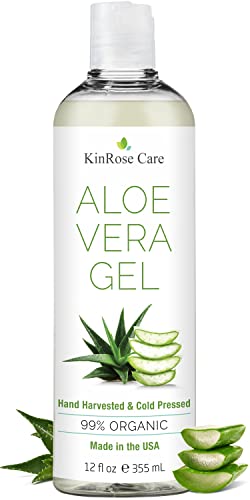
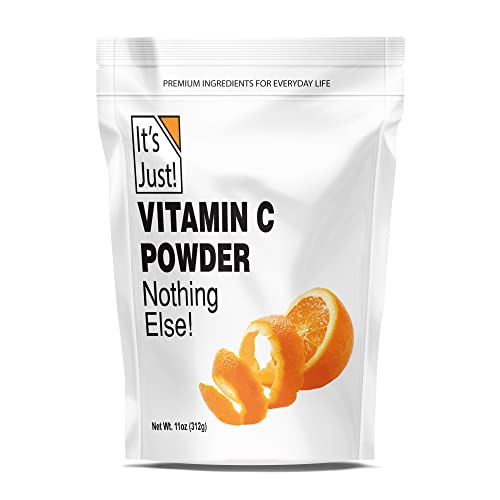
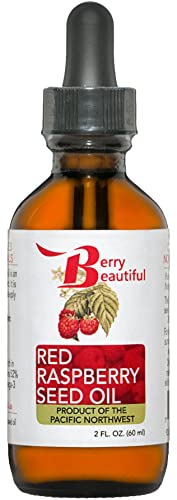
- Gather vitamin C powder, vitamin E oil, aloe vera gel, distilled water, and a dark glass bottle with a dropper.

Prepare Work Area
Clean and Sanitize Your Work Area:
- Wipe Down Surfaces: Before starting, take a clean cloth or paper towel and dip it into rubbing alcohol. Use it to wipe down all surfaces of your work area, including countertops, tables, and any equipment you’ll be using. This will help remove any dirt, dust, or bacteria present on the surfaces.
- Disinfect Utensils: Next, gather all the utensils you’ll need for making the serum, such as measuring cups, spoons, or mixing bowls. Spray a disinfectant spray directly onto these utensils, making sure to cover all areas. Let them sit for a few minutes to allow the disinfectant to effectively kill any harmful microorganisms.
- Cleanse Your Hands: Remember to wash your hands thoroughly with soap and warm water before you begin. This is a crucial step in maintaining a hygienic work environment and preventing the introduction of any germs or bacteria into your serum.
- Keep it Tidy: Throughout the process, make sure to clean up any spills or messes immediately to avoid cross-contamination. Dispose of used paper towels or other waste properly to ensure a clean and organized work area.
By following these simple steps, you’ll create a clean and sanitized work area that promotes a hygienic environment for making the serum.
Measure the Ingredients
Measure out the ingredients in the required quantities. For example, use a measuring spoon to scoop out 1 teaspoon of vitamin C powder and transfer it into a clean container. Repeat the process for 1 teaspoon of vitamin E oil, 2 teaspoons of aloe vera gel, and 4 teaspoons of distilled water. Make sure to accurately measure each ingredient to ensure the desired results.

Mix the Ingredients
- In a clean bowl, combine the measured ingredients: Start by placing all the measured ingredients into a clean bowl. For example, if the recipe calls for flour, sugar, and baking powder, measure out the specified amounts of each ingredient and add them into the bowl.
- Stir well until all the ingredients are thoroughly mixed together: Take a spoon or whisk and begin stirring the ingredients in the bowl. Make sure to mix everything together thoroughly, ensuring that there are no pockets of unmixed ingredients. Use a circular motion to combine the ingredients, scraping the sides and bottom of the bowl as you go.
- Ensure there are no lumps or clumps in the mixture: As you stir, pay close attention to the texture of the mixture. If you notice any lumps or clumps, use the back of your spoon or a fork to break them up and continue stirring until the mixture is smooth and uniform. This step is crucial to ensure even distribution of the ingredients and a consistent final product.
Remember to follow these steps carefully to achieve the best results in your recipe. Taking the time to thoroughly mix the ingredients will help ensure that your dish turns out delicious and well-balanced.
Transfer to a Dark Glass Bottle
- Place a funnel over the opening of the dark glass bottle.
- Carefully pour the mixture into the funnel, allowing it to flow smoothly into the bottle.
- The dark glass bottle is essential as it helps shield the serum from light exposure, which can degrade its potency over time.
- For example, amber or cobalt blue glass bottles are commonly used for this purpose.
- Ensure that the dropper cap is securely tightened onto the bottle to prevent any leakage or contamination.
- You can do this by twisting the cap firmly until it feels snug.
- Once the bottle is securely closed, label it with the name of the serum and the date of transfer to keep track of its freshness.
- Store the dark glass bottle in a cool, dark place to further protect the serum from light and heat.
- A drawer or cabinet away from direct sunlight is ideal.
- Remember to clean the funnel and any spills promptly to maintain a hygienic environment for the serum.
- Congratulations! You have successfully transferred the mixture to a dark glass bottle, ensuring its longevity and effectiveness.

Store in a Cool Place
- Find a cool, dark place: Locate a suitable area in your home that is cool and away from direct sunlight. A cupboard or drawer can work well for this purpose.
- Avoid direct sunlight or other heat sources: Ensure that the chosen storage spot is not exposed to sunlight or any other sources of heat, such as radiators or kitchen appliances.
- Protect the serum’s effectiveness: By keeping your homemade antioxidant-rich serum away from heat and sunlight, you can maintain its potency and effectiveness for longer periods. Store it in the selected cool area to preserve its quality.
Apply to Clean Skin
- Before applying the serum, make sure your face is clean and dry. Remove any makeup or dirt by using a gentle cleanser and pat your skin dry with a clean towel.
- Take the dropper provided with the serum and dispense a few drops onto your fingertips. It’s important to use the dropper as it ensures accurate measurement and prevents wastage.
- Gently massage the serum into your skin using upward motions. Start from the center of your face and work your way outwards. Use your fingertips to gently pat the serum into areas that require more attention, such as fine lines or dry patches.
Example:
- Cleanse your face using a mild facial cleanser. Rinse thoroughly and pat dry with a towel.
- Take the dropper and carefully dispense 3-4 drops of the serum onto your fingertips.
- Begin by massaging the serum onto your forehead, using upward strokes towards your hairline.
- Move down to your cheeks, using circular motions to evenly distribute the serum.
- Pay extra attention to areas around your eyes and mouth, gently patting the serum with your fingertips.
- Finish by massaging the remaining serum onto your neck and décolletage in upward motions.
- Allow the serum to fully absorb into your skin before applying any other products or makeup.
Following these steps will ensure that the serum is applied effectively to clean, dry skin, allowing it to penetrate deeply and provide maximum benefit.
Use Daily and Enjoy the Benefits
To achieve optimal results, incorporate the antioxidant-rich serum into your daily skincare routine. Begin by cleansing your face thoroughly, then apply a small amount of the serum to your fingertips. Gently massage it into your skin using circular motions, focusing on areas prone to aging or uneven texture. Allow the serum to fully absorb before applying any additional skincare products or makeup. By using the serum consistently, you will gradually witness improvements in skin texture, a reduction in signs of aging, and a vibrant, glowing complexion.
The final thoughts
In conclusion, making your own antioxidant-rich serum at home is a great option for those looking for a cost-effective and natural skincare solution. By using the right ingredients and following the steps outlined in this blog post, you can provide your skin with the nourishment and protection it needs. So why not give it a try and see the amazing benefits for yourself?
Necessary Supplies


DIY Serum Secrets
Step-by-step guide to effectively incorporate antioxidant-rich serum into your skincare routine
- Cleanse your face with a gentle cleanser and pat it dry
- Apply a small amount of the antioxidant-rich serum to your fingertips
- Gently massage the serum onto your face and neck using upward motions
- Allow the serum to fully absorb into your skin before applying any other products
- Follow up with a moisturizer to lock in the benefits of the serum
- Use the antioxidant-rich serum once or twice daily for best results, preferably in your morning and evening skincare routines
Frequently Asked Questions about Antioxidant-rich Serum
Is there a recommended time of day to use an antioxidant-rich serum, and should it be used before or after moisturizer?
While there is no specific recommended time of day to use an antioxidant-rich serum, many skincare experts suggest incorporating it into your morning routine. This is because antioxidants can help protect your skin from environmental damage, including pollution and UV rays, which are most prevalent during the day.
In terms of the order of application, it is generally advised to apply a serum before moisturizer. Serums are lightweight and have smaller molecules, allowing them to penetrate the skin more effectively. Applying a serum first allows it to be absorbed and deliver its active ingredients directly to the skin. Afterward, you can follow up with a moisturizer to lock in hydration and nourish the skin.
However, it’s essential to note that skincare routines can vary based on individual preferences and the specific products being used. Always refer to the instructions provided by the manufacturer or consult a dermatologist for personalized advice.
Are there any potential side effects or precautions to consider when using an antioxidant-rich serum?
Yes, there can be potential side effects and precautions to consider when using an antioxidant-rich serum. While antioxidants are generally safe to use, individuals with sensitive skin may experience irritation or allergic reactions to certain ingredients in the serum. It is important to check the product’s ingredient list and avoid any known allergens. Additionally, some antioxidants may increase skin sensitivity to sunlight, so it is advisable to use sunscreen when using an antioxidant-rich serum during the day. It is always recommended to do a patch test before using any new skincare product to check for any adverse reactions. If you have any specific concerns or underlying skin conditions, it is best to consult with a dermatologist before incorporating an antioxidant-rich serum into your skincare routine.

Hey, I’m Ava Wilson—a skincare enthusiast and a certified esthetician. I’m dedicated to sharing my knowledge and empowering others to achieve healthy, glowing skin through simple, effective routines and natural remedies. Join me on this exciting skincare journey, and let’s unlock your skin’s potential for a confident, beautiful you.