Learn how to create your own multi-purpose balm at home with this step-by-step guide. Customize it to moisturize, soothe, and nourish your skin naturally.
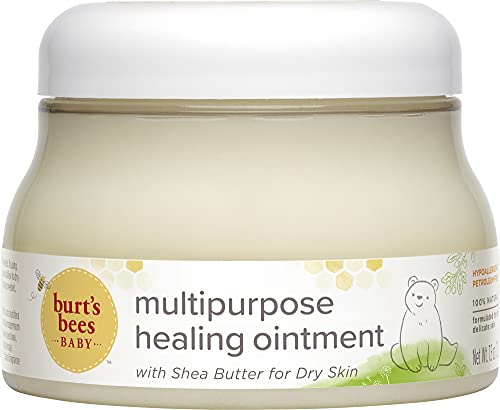
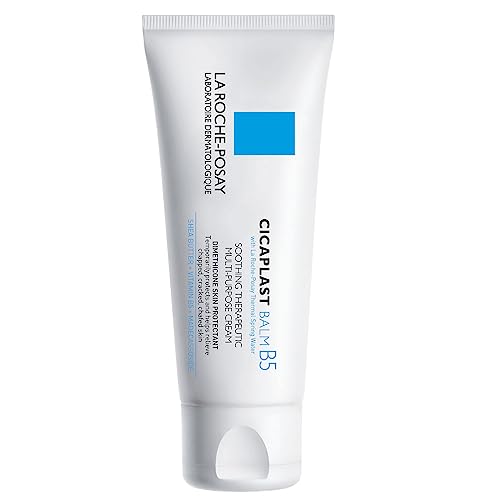
Top-selling healing balm for all needs

Gather the Ingredients and Materials
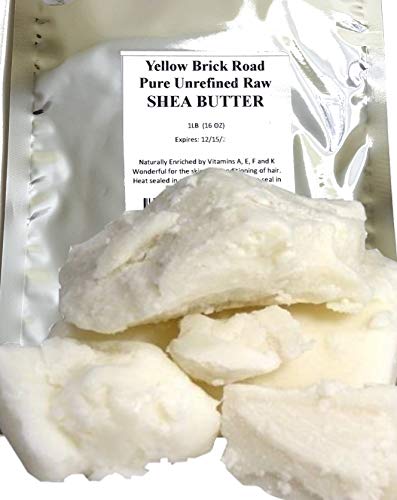
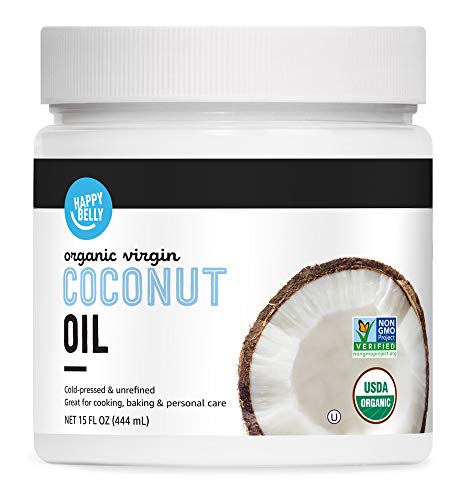
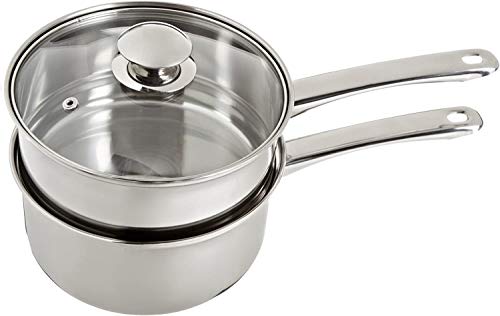
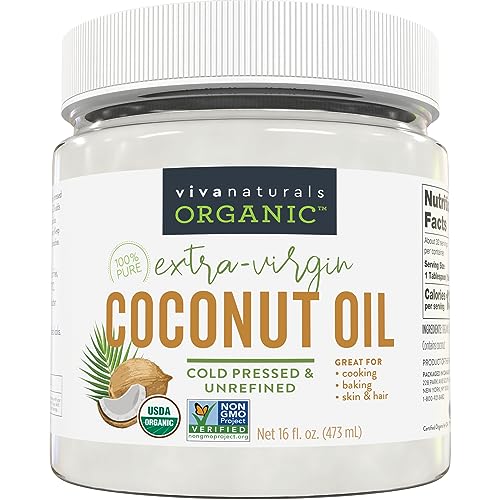
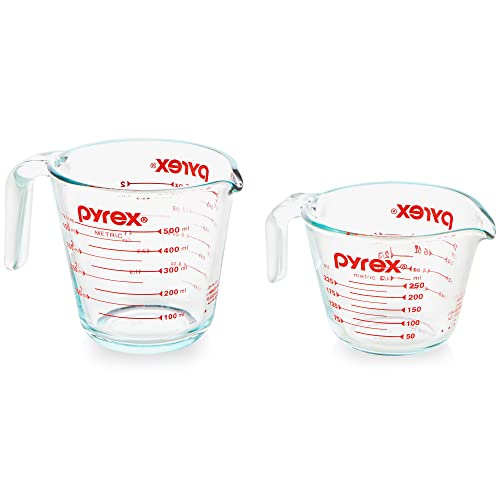
- Gather the ingredients: Start by collecting all the necessary ingredients for making the balm. You will need beeswax, which can usually be found in the form of pellets or blocks. Additionally, gather carrier oils such as coconut oil or almond oil, which will serve as the base for your balm. If desired, you can also include essential oils to add a pleasant fragrance to the balm. Choose essential oils that complement your preferences or offer specific therapeutic benefits. Make sure to have a double boiler or a microwave-safe container for melting the ingredients, a stirring utensil to mix them together, and small containers to store the final product.
- Prepare the work area: Before you begin, ensure that your work area is clean and well-organized. This will help you have a smooth and efficient balm-making process. Lay out all the ingredients and materials you have gathered in front of you. Place the double boiler or microwave-safe container on the stove or microwave so it’s ready for use. Keep the stirring utensil within reach. Have the small containers ready for filling with the finished balm. By preparing your work area in advance, you can avoid any unnecessary disruptions during the process and maintain a steady workflow.

Melt the Beeswax and Carrier Oils
Melt the Beeswax and Carrier Oils
In a double boiler or microwave-safe container, place the desired amount of beeswax and carrier oils together. Heat the mixture until they melt into a smooth liquid consistency. Stir occasionally to ensure even melting.
If using a double boiler, fill the bottom pot with water and bring it to a gentle simmer. Place the top pot or bowl on top of the simmering water. Add the beeswax and carrier oils to the top pot and stir occasionally as they melt.
If using a microwave-safe container, place the beeswax and carrier oils in the container. Heat them in short intervals, stirring between each interval, until they melt completely. Be careful not to overheat the mixture.
Remember, the ratio of beeswax to carrier oils can vary depending on the desired texture and consistency of the balm. Adjust the quantities to achieve the desired results. Once melted, the beeswax and carrier oils are ready to be used in your DIY projects.


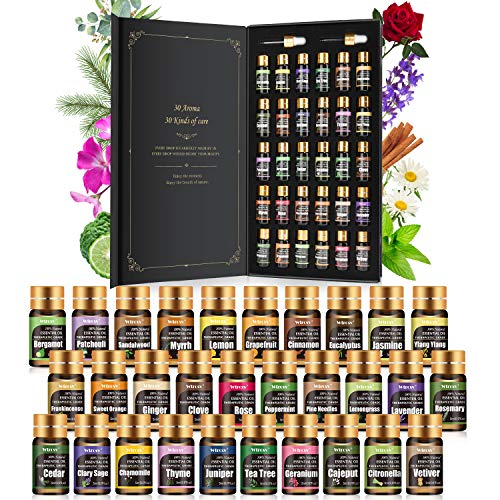
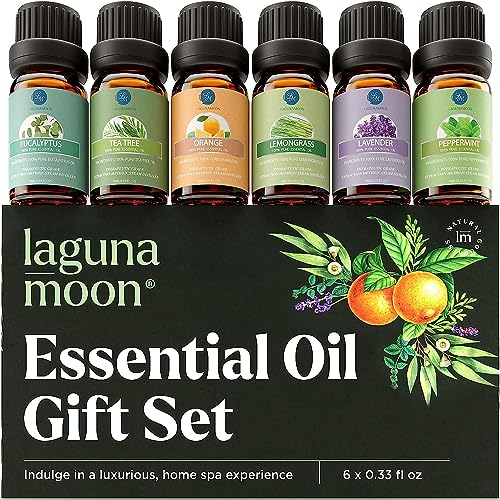
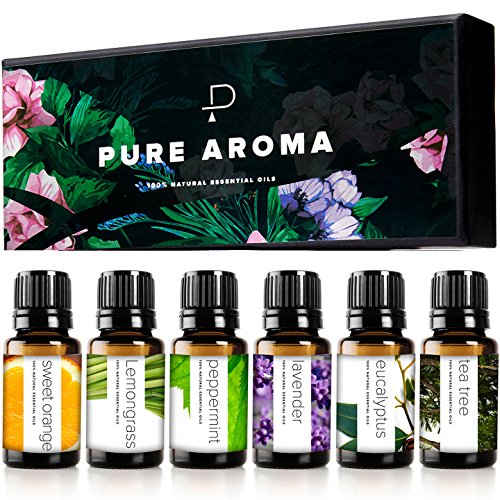
Add Essential Oils (Optional)
If desired, enhance the aroma and therapeutic benefits of your homemade mixture by adding a few drops of essential oils. The options are endless, but here are a few popular choices to get you started:
- Lavender: To promote relaxation and calmness, add 5-7 drops of lavender essential oil to the melted mixture. Stir well to distribute the fragrance evenly. Lavender is renowned for its soothing properties and can help reduce stress and anxiety.
- Tea Tree: For its antibacterial and antifungal properties, tea tree essential oil is a great addition. Add 3-5 drops to the mixture and mix thoroughly. This oil is known to be effective against various bacteria and can help keep your homemade product fresh and clean.
- Peppermint: If you prefer a refreshing and invigorating scent, try adding 4-6 drops of peppermint essential oil. The cooling effect of peppermint can awaken your senses and leave a pleasant fragrance behind. Make sure to blend it well to evenly distribute the scent.
Remember to adjust the number of drops based on your personal preference and the strength of the essential oil you are using. Always read the instructions and warnings provided by the essential oil manufacturer before using them. Enjoy the delightful scent and additional benefits these essential oils can bring to your homemade mixture!
Mix and Pour into Containers
Stir the mixture vigorously using a spoon or a whisk to ensure that the oils and beeswax are thoroughly combined. This step is crucial in creating a smooth and well-blended balm. Make sure to scrape the sides and bottom of the container to incorporate any ingredients that may have settled. Continue stirring until you no longer see any streaks or clumps in the mixture.
Once the mixture is well-mixed, it’s time to carefully pour it into the desired containers. Whether you’re using lip balm tubes or small jars, pour slowly and steadily to avoid any spills or splatters. If using lip balm tubes, hold them at a slight angle to allow the liquid to flow evenly. For small jars, use a small funnel to ensure a neat and precise pour. Fill the containers almost to the top, leaving a small space for the balm to expand when it solidifies.
After pouring, it’s important to let the balm cool and solidify completely before using or sealing the containers. Place the filled containers on a flat surface and leave them undisturbed for at least one hour. For best results, allow the balm to cool overnight or for several hours until it reaches a firm consistency. Once solidified, your homemade balm is ready to use and enjoy.

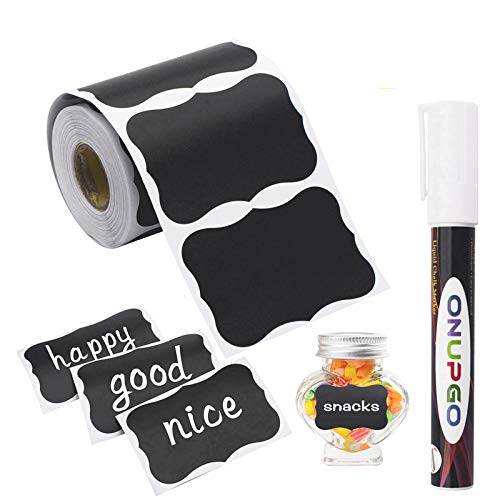
Label and Store
Label your homemade multi-purpose balm containers with the ingredients used and the date of creation. This will help you keep track of what each container contains and when it was made. By clearly labeling your containers, you can easily identify which balm to use and when it was created.
To label your containers, follow these steps:
- Use a permanent marker or a label maker to write down the ingredients used in your balm. Be sure to include all the main ingredients and any additives or essential oils you added.
- Write down the date of creation to ensure you know how long the balm has been stored. This will help you keep track of its shelf life and know when it’s time to make a fresh batch.
Once you have labeled your containers, it is important to store them properly to maintain the quality of your balm. Store them in a cool, dry place away from direct sunlight. This will help to prevent the balm from melting or getting too hot, which can affect its consistency and performance.
To properly store your containers, follow these steps:
- Find a cool and dry area in your home, such as a cupboard or a drawer, where the temperature remains relatively stable.
- Keep the containers away from direct sunlight or any other heat sources, as excessive heat and light can cause the balm to degrade.
- Make sure the containers are tightly sealed to prevent any moisture from getting in and affecting the balm’s quality.
By following these simple steps, you can ensure that your homemade multi-purpose balm stays fresh and effective for several months. Happy labeling and storing!

Final thoughts and recommendations
In conclusion, making your own multi-purpose balm at home is a rewarding and practical endeavor. By following the simple steps outlined in this blog post, you can now enjoy the benefits of a natural and customizable product. Feel free to experiment with different carrier oils and essential oils to create a balm that suits your specific needs. With your homemade balm in hand, you can confidently tackle various skin and beauty concerns, knowing that you have created a product that is both effective and personalized.
Necessary Supplies


DIY Balm Hacks
Creating an All-Purpose Balm for Extremely Dry Skin
Step-by-Step Guide to Using Multi-purpose Balm
- Cleanse the area you want to apply the multi-purpose balm to thoroughly, ensuring it is free from dirt and debris
- Take a small amount of the balm on your fingertips and warm it up by rubbing it gently
- Apply the balm evenly on the desired area, using gentle circular motions or light strokes
- For dry skin, use the balm as a moisturizer by applying a thin layer all over the face or body, focusing on dry patches or areas that need extra hydration
- Use the balm as a lip balm by applying a small amount on your lips, especially when they feel dry or chapped
- The multi-purpose balm can also be used as a cuticle cream. Apply a small amount on your cuticles and massage it gently to soften and moisturize them
- If you have rough or dry elbows or heels, apply the balm on these areas and massage it in for smoother and softer skin
- The balm can also be used as a highlighter for a natural glow. Dab a small amount on the high points of your face, such as the cheekbones, brow bone, and cupid’s bow, and blend it in gently for a subtle radiance
- Remember to start with a small amount and build up if needed, as a little goes a long way with multi-purpose balms
Frequently Asked Questions about Multi-purpose Balm
Is it safe to use a multi-purpose balm on cracked or dry skin?
Yes, it is generally safe to use a multi-purpose balm on cracked or dry skin. Multi-purpose balms are specifically designed to provide moisture and nourishment to the skin, making them suitable for addressing dryness and helping to heal cracked skin. These balms often contain emollients, such as natural oils or butters, which help to hydrate and soothe the skin. However, it is always advisable to check the ingredients list and ensure that you are not allergic or sensitive to any of the components. If you have any concerns or a severe skin condition, it is best to consult a dermatologist for personalized advice.
Can a multi-purpose balm be used on sensitive skin?
Yes, a multi-purpose balm can be used on sensitive skin. However, it is important to check the ingredients list before using it to ensure that it does not contain any potential irritants or allergens that could trigger a reaction. Look for balms that are specifically formulated for sensitive skin or are labeled as hypoallergenic. Additionally, it is advisable to perform a patch test on a small area of the skin to check for any adverse reactions before using it more widely.

Hey, I’m Ava Wilson—a skincare enthusiast and a certified esthetician. I’m dedicated to sharing my knowledge and empowering others to achieve healthy, glowing skin through simple, effective routines and natural remedies. Join me on this exciting skincare journey, and let’s unlock your skin’s potential for a confident, beautiful you.