This step-by-step guide provides instructions on how to effectively massage your scalp while using a hydrating hair mask. By following these steps, you can enhance the benefits of the hair mask and promote healthy hair and scalp.
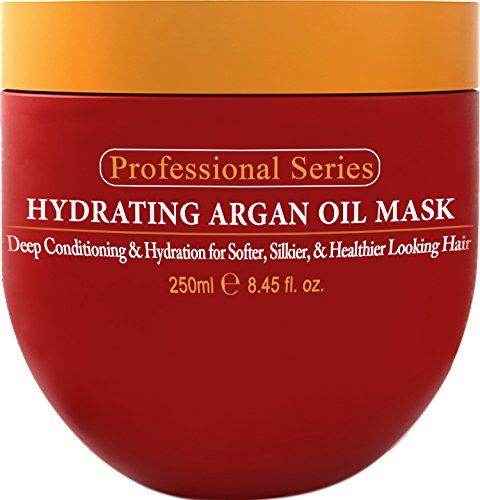
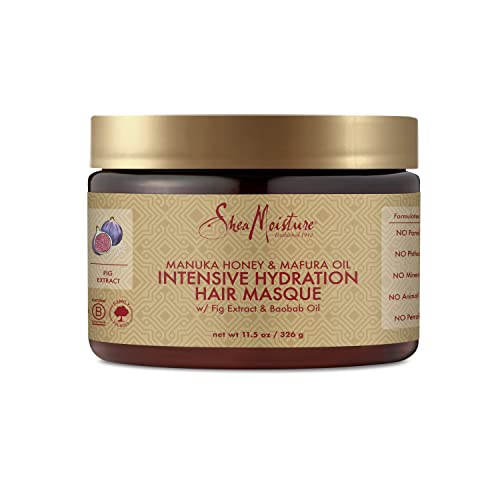
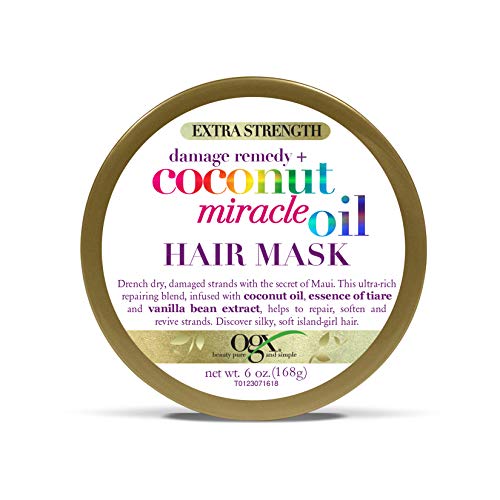
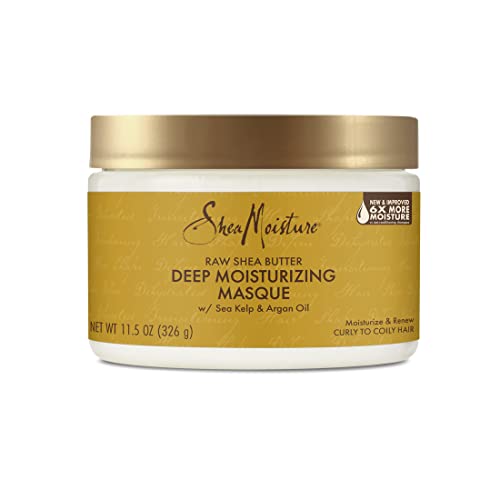
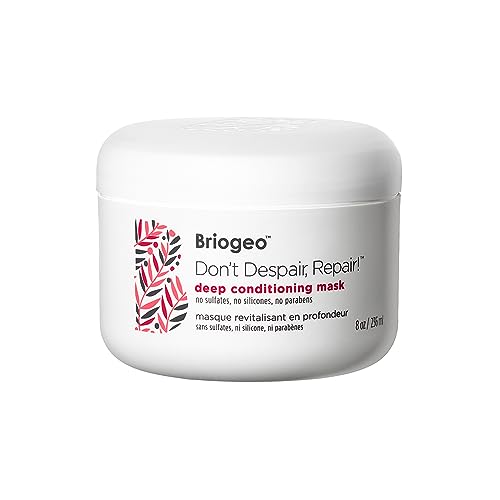
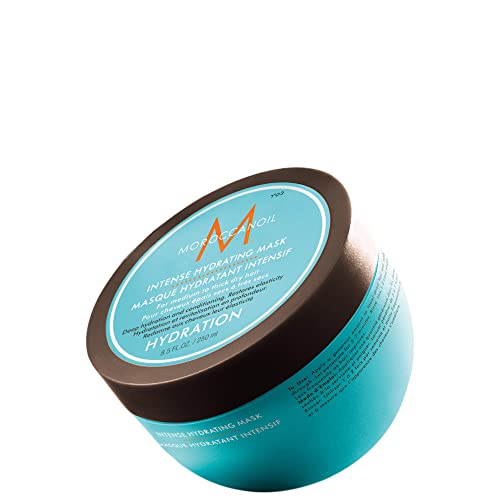
Top-Selling Hair Masks for Hydration

Gather the necessary materials
Before you begin, make sure you have gathered all the necessary materials. Here is a list of what you will need:
- Hydrating Hair Mask: Choose a hair mask that is specifically designed to hydrate and nourish your hair. Look for ingredients like argan oil, coconut oil, or shea butter, which will help moisturize your hair and improve its overall health.
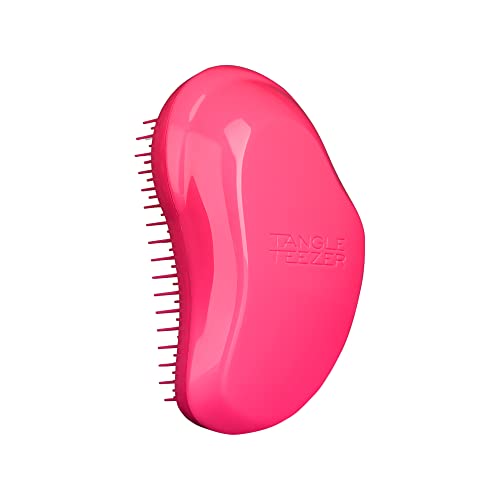
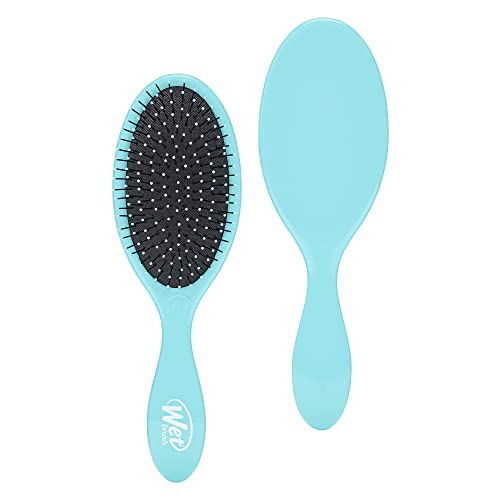
- Wide-Toothed Comb: A wide-toothed comb is essential for gently detangling your hair without causing any breakage or damage. It is particularly useful when applying the hair mask, as it helps distribute the product evenly from roots to ends.
- Towel: Grab a towel to protect your clothes or any surfaces from potential product spills or drips. It’s also handy to have a towel nearby in case you need to wipe your hands or face during the process.
- Comfortable Place to Sit: Find a comfortable spot where you can sit back and relax while applying the hair mask. This can be your favorite chair, a cozy corner of your couch, or even a cushioned stool. Creating a comfortable environment will enhance your overall experience and allow you to fully enjoy the self-care moment.
Once you have gathered all these materials, you are ready to proceed with the next steps of the hair mask application process. Remember to take your time and follow the instructions carefully for the best results. Enjoy the pampering session and the benefits it brings to your hair!

Prepare your hair
To prepare your hair, start by washing it with a gentle shampoo. Wet your hair thoroughly and apply a small amount of shampoo to your palms. Massage the shampoo into your scalp, working your way down to the ends of your hair. Make sure to focus on the roots and any areas where product buildup may be present. Rinse your hair thoroughly with warm water until all the shampoo is removed. Next, gently towel dry your hair until it is damp but not dripping wet. Pat your hair with the towel instead of rubbing to avoid unnecessary damage. Now your hair is ready for the next step in your hair care routine.


Apply the hydrating hair mask
- Take a generous amount of the hydrating hair mask.
- Start by applying the mask to your mid-lengths and ends, as these areas tend to be drier and more prone to damage.
- Use your fingers or a wide-toothed comb to evenly distribute the mask throughout your hair.
- Begin at the roots and work your way down to the tips, ensuring that every strand is coated with the mask.
- Gently massage the mask into your hair, focusing on areas that may be particularly dry or damaged.
- For even better results, consider covering your hair with a shower cap or towel. This will create a warm environment that allows the mask to penetrate deeply into the hair shaft.
- Leave the mask on for the recommended amount of time, usually stated on the product packaging. This will give the ingredients enough time to nourish and hydrate your hair.
- After the specified time has passed, rinse your hair thoroughly with lukewarm water until all traces of the mask are removed.
- Style your hair as desired. You may find that your hair feels softer, smoother, and more manageable after using the hydrating hair mask.
Remember, consistency is key when it comes to hair masks. Using the hydrating hair mask regularly, as instructed, can help improve the overall health and appearance of your hair.


Divide your hair into sections
Using your wide-toothed comb, gently glide it through your hair to separate it into manageable sections. This simple step is crucial to achieve an effective hair treatment. By dividing your hair, you make it easier to apply the hair mask evenly and ensure that your scalp receives the full benefits of the treatment.
To start, hold the comb at the roots of your hair and gently comb through, working your way down to the ends. Take your time and be gentle to avoid unnecessary tugging or breakage. As you comb, separate your hair into sections, creating clear divisions. This will help you keep track of which parts have been treated and prevent any areas from being missed.
Once you have divided your hair into sections, you can now proceed to massage your scalp and apply the hair mask. Take each section one at a time, applying the mask from the roots to the ends, making sure to distribute it evenly. Massaging your scalp as you go will help stimulate blood flow and ensure the mask penetrates deeply.
Remember, dividing your hair into sections not only makes the application process easier but also ensures that every part of your hair receives the nourishment it needs. So, grab your wide-toothed comb and get ready to divide and conquer for healthier, more beautiful hair!

Start the scalp massage
- Position yourself comfortably: Sit in a relaxed position, ensuring your back is supported and your shoulders are relaxed. This will allow you to focus solely on the scalp massage without any unnecessary strain on your body.
- Using your fingertips, place your hands on your forehead: Begin by using your fingertips to apply gentle pressure to your forehead. Slowly move your fingertips in circular motions, starting from the center of your forehead and gradually working your way towards your temples. This helps to release tension and promote relaxation.
- Move to the sides of your head: With your fingertips still applying gentle pressure, move your hands to the sides of your head, just above your ears. Continue the circular motions, moving from the temples towards the back of your head. Pay attention to any areas that feel tense or tight and apply a bit more pressure to release the tension.
- Massage the back of your head: Now, place your hands on the back of your head, where the base of your skull meets your neck. Use your fingertips to gently massage in small circular motions. Slowly work your way up towards the top of your head, covering the entire back of your scalp.
- Cover the rest of your scalp: Finally, move your hands to the top of your head and continue the circular motions using your fingertips. Ensure that you cover the entire scalp, massaging gently and paying attention to any areas that require more pressure or feel particularly tense.
Remember to maintain a gentle and soothing touch throughout the massage. You can repeat these steps as desired, allowing yourself to fully relax and benefit from the stimulating effects of the scalp massage. Enjoy the rejuvenating experience!

Continue massaging for 5-10 minutes
Continue massaging your scalp for 5-10 minutes, focusing on any areas that need extra attention. This will help improve blood circulation and promote relaxation.
- Start by using your fingertips to gently rub small circular motions on your scalp.
- Apply gentle pressure as you move your fingers across your scalp, covering all areas from the front to the back.
- Pay close attention to any areas that feel tense or sore, and spend a little extra time massaging those spots.
- Use your fingertips to gently knead the muscles at the base of your skull, applying slightly more pressure if comfortable.
- Continue massaging your scalp in circular motions, gradually moving your hands up and down, and side to side.
- If you like, you can also use your palms to apply more pressure and cover larger areas of your scalp.
- Take deep breaths as you massage, focusing on relaxing your body and mind.
- Keep the massage motion steady and rhythmic, ensuring you maintain a comfortable level of pressure throughout.
Remember, regular scalp massages can have numerous benefits, including reducing stress, promoting hair growth, and relieving headaches. So take some time out of your day to indulge in this simple and soothing self-care practice.
Leave the hair mask on
Leave the hair mask on: After massaging your scalp, leave the hair mask on for the recommended time as stated on the product packaging. This will allow the hydrating ingredients to penetrate your hair and scalp.
- Apply the hair mask evenly to your damp hair, focusing on the ends and avoiding the roots.
- Gently massage your scalp for a few minutes to stimulate blood circulation and enhance absorption of the mask.
- Leave the hair mask on for the specified duration, usually around 10-20 minutes. This may vary depending on the product, so refer to the packaging instructions for accuracy.
- While waiting, you can cover your hair with a shower cap or wrap a warm towel around your head to create a gentle heat that helps open up the hair cuticles and promotes better product absorption.
- Use this time to relax and indulge in some self-care activities.
- After the recommended time has passed, rinse out the hair mask thoroughly with lukewarm water until the water runs clear.
- Style your hair as desired, and enjoy the nourishing benefits of the hair mask, which will help restore moisture, repair damage, and leave your locks looking healthy and shiny.
Remember to always follow the instructions provided by the specific hair mask you are using, as recommendations may vary.
Benefits of Scalp Massage
In conclusion, incorporating a scalp massage while using a hydrating hair mask can greatly enhance its benefits. Not only does it provide a relaxing experience, but it also nourishes both your hair and scalp. So why not treat yourself to this rejuvenating self-care ritual and enjoy healthier, more vibrant locks?
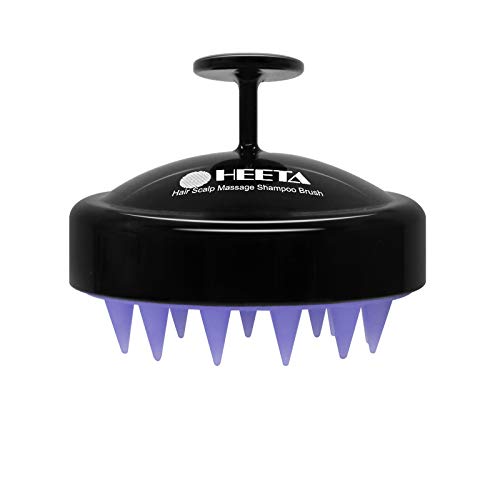
Necessary items


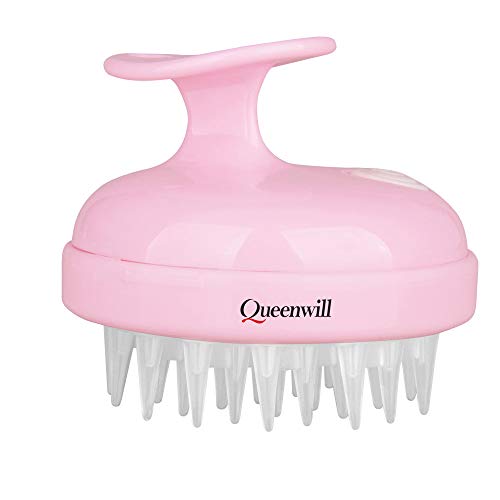
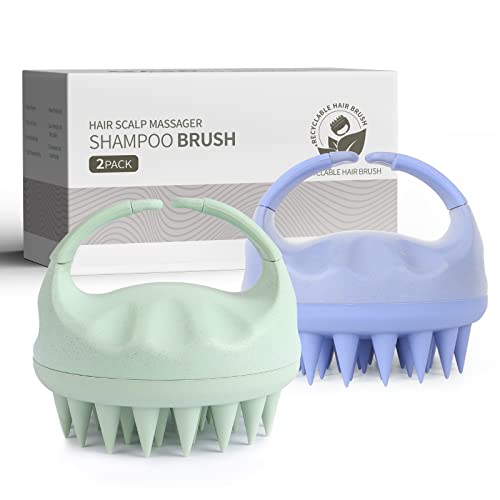
Scalp Massage Techniques

Hey, I’m Ava Wilson—a skincare enthusiast and a certified esthetician. I’m dedicated to sharing my knowledge and empowering others to achieve healthy, glowing skin through simple, effective routines and natural remedies. Join me on this exciting skincare journey, and let’s unlock your skin’s potential for a confident, beautiful you.