How to remove heat protectant spray buildup from my hair?
Learn how to remove heat protectant spray buildup from your hair with this step-by-step guide. Say goodbye to weighed down and dull hair and restore its natural shine and volume.
Top-Selling Heat Protection Sprays


Gather necessary materials
Before you begin, gather the necessary materials:
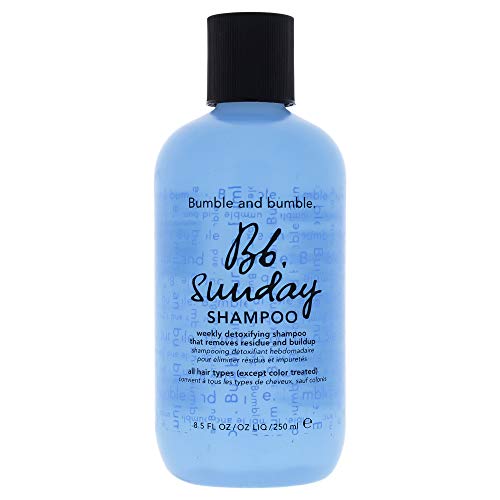
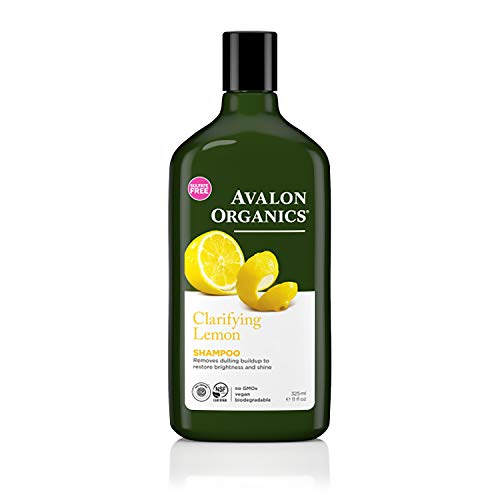
- Clarifying shampoo: This will help remove any product build-up or residue from your hair.
- Conditioner: Make sure you have a conditioner suitable for your hair type to keep your hair moisturized and manageable.
- Wide-tooth comb: Use this comb to detangle your hair gently, starting from the ends and working your way up to the roots.
- Towel: Grab a towel to wrap your hair in after washing and to absorb excess water before using the hairdryer.
- Hairdryer: Ensure you have a hairdryer with adjustable heat and speed settings for a controlled and efficient drying process.
Having these materials ready will ensure a smooth and successful hair care routine.


Wet your hair
Wet your hair thoroughly with lukewarm water, ensuring that every strand is saturated. This step is crucial as it helps to loosen any product buildup, dirt, or oils that may be present in your hair. Use your hands or a showerhead to evenly distribute the water from the roots to the tips, making it easier to remove any impurities during the cleansing process.
Apply clarifying shampoo
- Wet your hair thoroughly.
- Apply a generous amount of clarifying shampoo to your hair.
- Focus on the roots and work your way down to the ends, making sure to cover all areas.
- Massage the shampoo into your scalp using circular motions for a few minutes, ensuring thorough cleansing.
- Rinse your hair thoroughly with warm water to remove all the shampoo.
- Repeat the process if necessary, depending on the level of buildup in your hair.


Gently massage and lather
Using your fingertips, gently massage the clarifying shampoo into your hair and scalp. Start by applying a small amount of shampoo onto your palm. Then, using circular motions, work the shampoo into your hair, focusing on the roots and scalp. Make sure to be gentle to avoid tangling or pulling on your hair.
Example:
- Step 1: Apply a small amount of clarifying shampoo onto your palm.
- Step 2: Using your fingertips, gently massage the shampoo into your hair and scalp using circular motions.
- Step 3: Continue massaging for about 2-3 minutes, ensuring you cover all areas, especially the roots and scalp.
- Step 4: If the lather starts to decrease, add a little more water to create a rich foam.
- Step 5: Rinse your hair thoroughly with warm water, making sure to remove all shampoo residue.
Rinse thoroughly
Rinse your hair thoroughly with lukewarm water to remove all traces of shampoo. Ensure that you rinse out all the suds completely, ensuring no residue remains in your hair.


Apply conditioner
Apply a generous amount of conditioner to your hair, focusing on the lengths and ends. Massage the conditioner into your hair using your fingertips, ensuring that every strand is coated. Use a wide-tooth comb to distribute the conditioner evenly and gently detangle your hair, starting from the ends and working your way up to the roots.
Let the conditioner sit
- Apply a generous amount of conditioner to your hair after shampooing.
- Gently massage the conditioner into your hair, focusing on the ends.
- Leave the conditioner on your hair for at least 2-3 minutes to allow it to deeply moisturize your strands.
- For even better results, cover your hair with a shower cap or towel to create a warm environment that helps the conditioner penetrate the hair shaft.
- Rinse thoroughly with cool water to seal the moisturizing benefits of the conditioner and leave your hair feeling soft and hydrated.
Rinse with cool water
Rinse with cool water:
- After thoroughly applying conditioner to your hair, rinse it out with cool water.
- Gently massage your scalp and run your fingers through your hair to ensure complete coverage.
- Allow the cool water to seal the cuticles and add a natural shine to your hair.
- Continue rinsing until all the conditioner is washed away and no residue remains.
- Enjoy the refreshed feeling and beautifully conditioned hair that the cool water rinse provides.
Gently towel dry
- After rinsing your hair, gently squeeze out excess water using a towel.
- Avoid rubbing or wringing your hair to prevent damage and breakage.
- Instead, gently pat your hair with the towel to absorb moisture.
- Be sure to towel dry your hair thoroughly before styling or applying any products.
Style as desired
Style as desired
- Towel-dry your hair: Gently pat your hair with a soft towel to remove excess moisture. Avoid rubbing vigorously as this can cause frizz and damage.
- Apply a styling product: Depending on your desired look, apply a small amount of styling product such as mousse, gel, or serum to your damp hair. Work it through your strands evenly to ensure even distribution.
- Choose your styling tool: Decide whether you want to use a hairdryer, straightener, curling iron, or any other styling tool based on the desired outcome.
- Set the temperature: If using a heat styling tool, set it to the appropriate temperature. Lower heat settings are generally safer for your hair, so start with the lowest setting and increase if needed.
- Section your hair: Divide your hair into manageable sections using hair clips or hair ties. This will make it easier to style and ensure that each section receives equal attention.
- Style your hair: Take one section at a time and style it using your chosen tool. Follow the manufacturer’s instructions for the tool you are using to achieve the desired result.
- Repeat the process: Continue styling each section until you have achieved the desired look for your entire head of hair.
- Finish with a styling product: Once you have finished styling, you can apply a small amount of finishing product, such as hairspray or shine serum, to set your style and add extra shine or hold if desired.
Remember to be gentle with your hair during the styling process to minimize damage. Experiment with different techniques and products to find the style that suits you best.
Removing buildup effectively
In conclusion, maintaining healthy and voluminous hair while removing heat protectant spray buildup is easily achievable by following the steps outlined in this blog post. By incorporating this process into your hair care routine, you can enjoy the benefits of heat protectant sprays without worrying about product buildup.
Necessary Supplies


Haircare Hacks
Step-by-Step Guide to Using Heat Protectant Spray
- Start with clean and dry hair: Before using heat protectant spray, make sure your hair is clean and dry. This will help the product to be more effective in protecting your hair from heat damage
- Shake the bottle well: Give the heat protectant spray a good shake before using it. This will ensure that the product is well mixed and ready to be applied evenly to your hair
- Spray on damp or dry hair: Depending on the instructions on the specific product, you can use heat protectant spray on either damp or dry hair. Apply the spray from about 6-8 inches away from your hair, making sure to cover all areas from roots to ends
- Comb through your hair: After applying the heat protectant spray, use a wide-toothed comb to distribute the product evenly throughout your hair. This will help to ensure that every strand is protected from the heat
- Style as desired: Once the heat protectant spray is applied and combed through, you can proceed to use heat styling tools such as flat irons, curling irons, or blow dryers. Remember to adjust the temperature of the styling tool to a heat setting that is safe for your hair type. The heat protectant spray will create a barrier between your hair and the heat, minimizing damage
Frequently Asked Questions about Heat Protectant Spray
Are there any heat protectant sprays that offer additional benefits, such as adding shine or reducing breakage?
Yes, there are heat protectant sprays available in the market that offer additional benefits apart from protecting hair from heat damage. Some of these sprays are formulated with ingredients that provide shine to the hair, leaving it looking glossy and healthy. They may also contain ingredients that help reduce breakage by strengthening the hair and preventing damage caused by heat styling tools. These additional benefits vary depending on the brand and specific product, so it’s important to read the label or product description to understand the specific benefits offered by each heat protectant spray.
How should a heat protectant spray be applied to the hair?
To apply a heat protectant spray to the hair, follow these steps:
- Start with clean, dry hair. It is recommended to use the spray on freshly washed and dried hair for better absorption.
- Shake the heat protectant spray bottle well to ensure the ingredients are properly mixed.
- Hold the spray bottle about 6-8 inches away from your head to ensure even distribution.
- Divide your hair into sections. This will make it easier to apply the spray evenly and thoroughly.
- Spray the heat protectant onto each section of your hair. Start from the roots and work your way down to the ends.
- Use your fingers or a wide-toothed comb to evenly distribute the product throughout your hair.
- Once the heat protectant spray is applied, you can style your hair as desired using heat tools like a blow dryer, flat iron, or curling wand.
- Remember to avoid applying excessive heat to your hair and use the lowest effective temperature setting to prevent damage.
- It is also recommended to reapply the heat protectant spray if you are restyling your hair with heat tools or if the hair gets wet.
- Finally, allow your hair to cool down before touching or brushing it to avoid any potential damage.

Hey, I’m Ava Wilson—a skincare enthusiast and a certified esthetician. I’m dedicated to sharing my knowledge and empowering others to achieve healthy, glowing skin through simple, effective routines and natural remedies. Join me on this exciting skincare journey, and let’s unlock your skin’s potential for a confident, beautiful you.


