The step-by-step guide on how to use a cooling face roller for lymphatic drainage teaches you how to effectively reduce puffiness, promote blood circulation, and improve overall skin health.
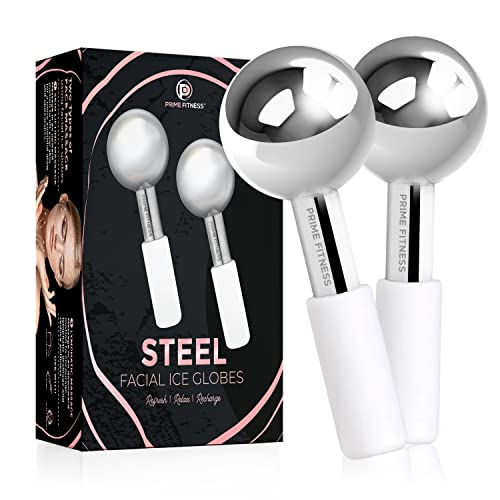
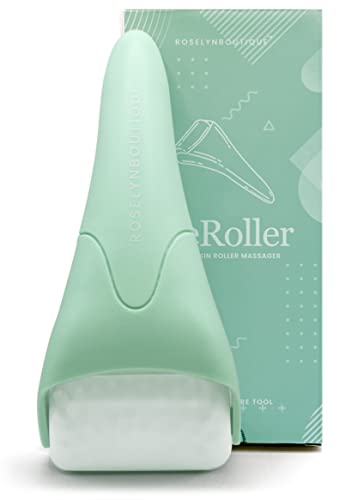
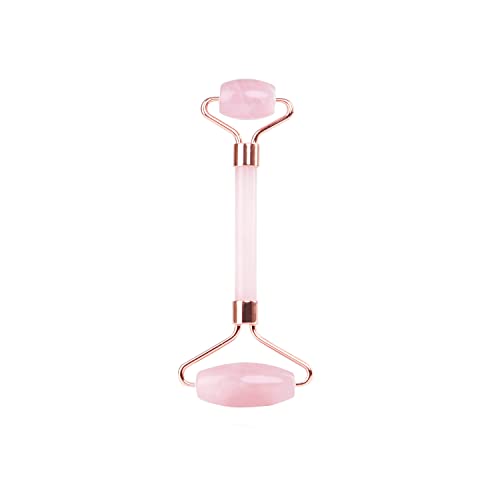
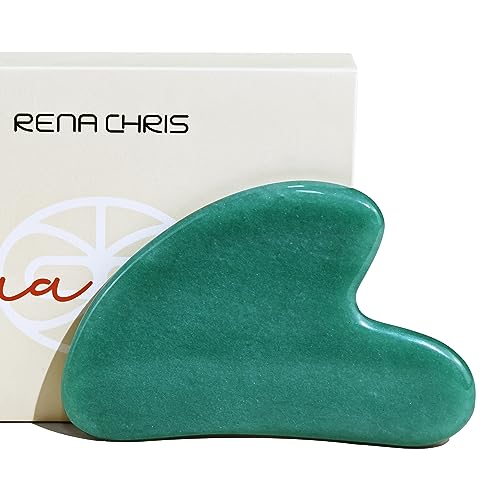
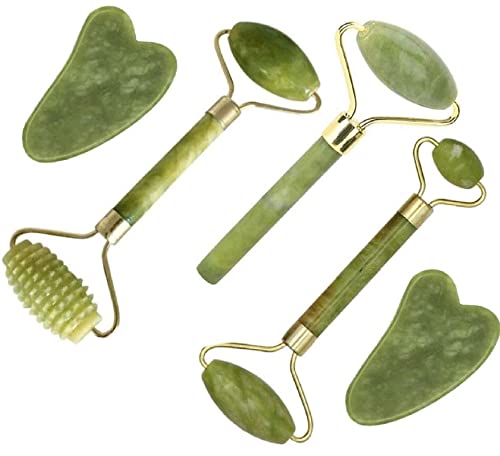
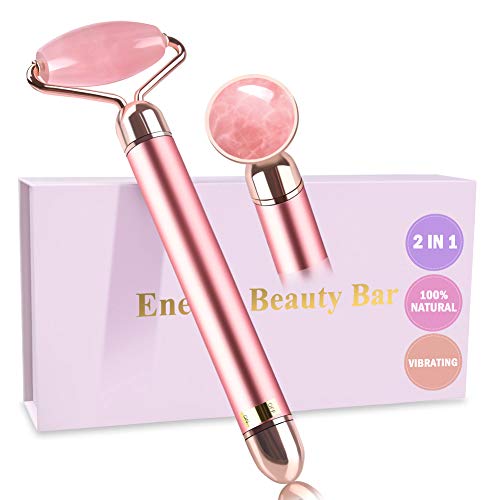
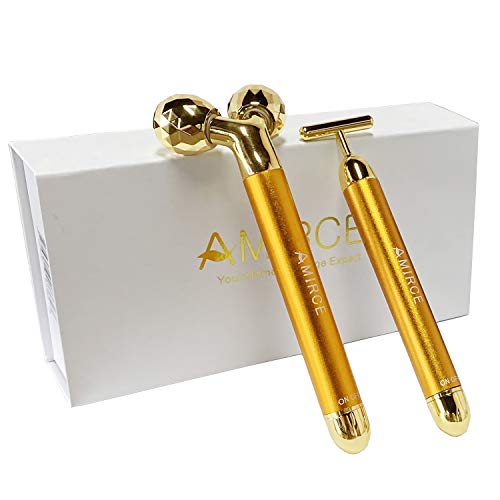
Top-selling face roller for refreshing skin

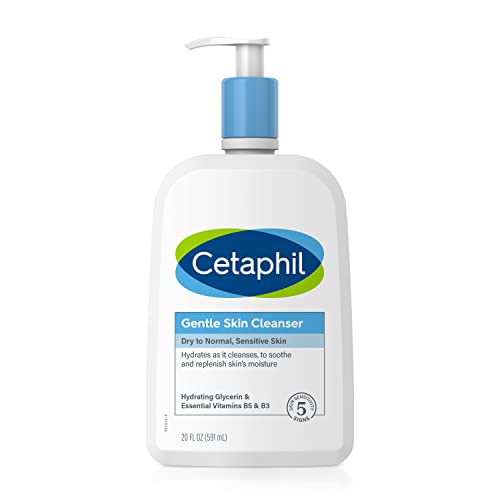
Cleanse your face
- Start by cleansing your face thoroughly using a gentle cleanser. Gently massage the cleanser onto your damp skin using circular motions. Be sure to cover all areas of your face, including the forehead, cheeks, nose, and chin. This will help remove any dirt, oil, or makeup that may have accumulated on your skin throughout the day.
- Rinse your face with lukewarm water to remove the cleanser. Splash water onto your face and use your hands to gently rinse away the cleanser. Make sure to rinse thoroughly to ensure that no residue is left on your skin.
- Pat your face dry with a clean towel. Avoid rubbing your face, as this can cause irritation to your skin. Instead, gently pat your skin dry to remove any excess water.
- Ensure that your face is completely dry before proceeding to the lymphatic drainage treatment. This will allow the treatment to be more effective and provide better results.
By following these simple steps, you will have thoroughly cleansed your face, removing any impurities and preparing your skin for the lymphatic drainage treatment.

Apply a facial oil or serum
Apply a few drops of your favorite facial oil or serum onto your clean face. Gently massage the oil or serum into your skin using your fingertips. Make sure to cover your entire face, including your forehead, cheeks, nose, and chin. Allow the oil or serum to absorb into your skin for a minute or two before moving on to the next step.
For example, if you prefer a lightweight serum, take a few drops of the serum onto your palm and rub your hands together to warm it up. Then, using gentle upward strokes, apply the serum to your face, starting from the center and working your way outwards. Pay special attention to any areas that need extra hydration, such as dry patches or fine lines.
On the other hand, if you prefer a facial oil, dispense a few drops onto your fingertips and lightly press the oil onto your skin. Focus on areas that may feel tight or dry, like your cheeks or around your mouth. Massage the oil in using small circular motions, ensuring that it is evenly distributed across your face. The oil will provide deep hydration and nourishment to your skin, leaving it soft and supple.


Prep the cooling face roller
To prep the cooling face roller, start by placing it in the refrigerator for approximately 10-15 minutes. This step is crucial as the cold temperature will significantly enhance the effectiveness of the lymphatic drainage treatment. By reducing inflammation and tightening the skin, the chilled roller will leave your face feeling refreshed and rejuvenated.
Once you’ve allowed the roller to cool, take it out of the refrigerator and proceed with the lymphatic drainage treatment. Gently roll the cold roller across your face using upward strokes, starting from the center and moving towards the outer edges. Apply slight pressure and repeat the motion for a few minutes.
For example, you can begin by rolling the chilled roller from the bridge of your nose towards your temples. Then, move from your chin towards your ears, and from your forehead towards your hairline. The cool temperature will provide a soothing sensation and help reduce any puffiness or inflammation in these areas.
Remember to clean the roller before and after each use to maintain its cleanliness and hygiene. This simple step of chilling the roller in the refrigerator can significantly elevate your lymphatic drainage treatment, leaving you with a tightened and refreshed complexion.


Start with the neck
To begin the lymphatic drainage treatment, first, make sure you have a cooling face roller handy. Hold the roller with a comfortable grip and position it at the base of your neck. Gently roll the roller upwards along your neck, applying light pressure. Repeat this motion 5-10 times, ensuring you cover the entire neck area.
For example, start by placing the roller at the center of your collarbone. Roll it upwards towards your jawline, moving along the side of your neck. Apply gentle pressure as you roll, ensuring the roller glides smoothly. Repeat this motion a few times, gradually moving towards the back of your neck. Be sure to cover both sides equally.
Another example is to place the roller at the base of your neck, just above your shoulder blades. Roll it upwards towards the hairline, following the natural curve of your neck. Again, remember to apply light pressure and repeat the motion several times. This will help stimulate lymphatic circulation and promote detoxification in the neck area.
Remember, starting with the neck is essential as it allows you to open up the lymphatic pathways and prepares the body for further drainage.


Move to the jawline and cheeks
- Continue rolling the cooling face roller along your jawline and cheeks.
- Move the roller in an outward and upward direction.
- Apply gentle pressure as you roll the roller across your skin.
- Repeat this motion several times, covering the entire jawline and cheeks.
- Focus on any areas that feel particularly tense or swollen.
- Roll slowly and deliberately to ensure thorough coverage.
- Enjoy the cooling sensation and relaxation as you roll the roller along your jawline and cheeks.
- Feel the tension and puffiness gradually reducing.
- Notice the improvement in facial contour as you continue rolling.
- Experience the benefits of lymphatic drainage in these areas.
- Feel refreshed and rejuvenated after this simple yet effective technique.
Focus on the under-eye area
- Roll away dark circles and under-eye bags: Take the smaller end of the cooling face roller and place it on the inner corner of your under-eye area. Apply gentle pressure as you roll the roller towards the outer corner. Repeat this motion 5-10 times, focusing on the areas where dark circles and under-eye bags are most visible. The cooling effect of the roller will help reduce puffiness and soothe tired eyes.
- Improve blood circulation: Using the same smaller end of the roller, start from the inner corner of your under-eye area and roll towards the outer corner. This time, apply slightly more pressure to stimulate blood circulation. Repeat this movement 5-10 times to promote better blood flow, which can help reduce the appearance of dark circles and give your under-eye area a revitalized look.
Remember to be gentle and avoid putting too much pressure on your skin. The cooling face roller can be used daily or as needed, preferably in the morning or before applying makeup. Incorporating this simple step into your skincare routine will help you achieve a brighter, more refreshed under-eye area.
Finish with the forehead
Lastly, roll the cooling face roller across your forehead, starting from the center and moving towards the hairline. This action will effectively relax your facial muscles, alleviate tension, and facilitate lymphatic drainage in the forehead area. To begin, place the roller at the center of your forehead, just above the eyebrows. Apply gentle pressure and smoothly glide the roller towards your hairline. Repeat this motion several times, ensuring that you cover the entire forehead. As you roll, focus on any areas that feel particularly tense or tight, spending extra time on those spots. The coolness of the roller will provide a refreshing sensation, further aiding in the relaxation process.
Achieving optimal results
In conclusion, incorporating a cooling face roller into your skincare routine can provide numerous benefits for lymphatic drainage. With its easy-to-follow steps and regular use, you can enhance your skin’s health, minimize puffiness, and achieve a radiant and youthful complexion. Give it a try and experience the rejuvenating effects yourself.
Necessary items


Efficient Techniques
Step-by-Step Guide to Using the Cooling Face Roller
- Start with a clean and dry face: Before using the cooling face roller, make sure your face is clean and free from any makeup or dirt. This ensures better absorption and effectiveness of the roller
- Apply a moisturizer or serum: To enhance the benefits of the cooling face roller, apply a small amount of moisturizer or serum to your face. This will help the roller glide smoothly and also provide additional hydration to your skin
- Gently roll the face roller on your skin: Hold the cooling face roller by the handle and start rolling it gently on your face, starting from the center and moving outwards. Use upward strokes on your cheeks, forehead, and chin, and horizontal strokes on your forehead and under-eye area
- Use light pressure: Avoid applying too much pressure while using the face roller, as it may cause discomfort or irritation. The roller should glide effortlessly over your skin without causing any pain
- Focus on problem areas: If you have specific areas of concern such as puffiness, fine lines, or tension in the jawline, spend a little extra time rolling the face roller in those areas to provide a soothing and targeted treatment
- Repeat daily or as desired: To see the best results, incorporate the use of the cooling face roller into your daily skincare routine. You can use it in the morning to depuff and awaken your skin or in the evening to relax and unwind. The frequency can be adjusted based on your personal preference and needs

Hey, I’m Ava Wilson—a skincare enthusiast and a certified esthetician. I’m dedicated to sharing my knowledge and empowering others to achieve healthy, glowing skin through simple, effective routines and natural remedies. Join me on this exciting skincare journey, and let’s unlock your skin’s potential for a confident, beautiful you.


