Does your skin feel dull and lackluster? Don’t worry, we’ve got you covered! Our step-by-step guide will walk you through using a detoxifying clay mask to brighten your skin and bring back that radiant glow. With easy-to-follow instructions and helpful tips for all skin types, you’ll be on your way to a healthier and more vibrant complexion in no time. Say goodbye to dullness and hello to beautiful, glowing skin!
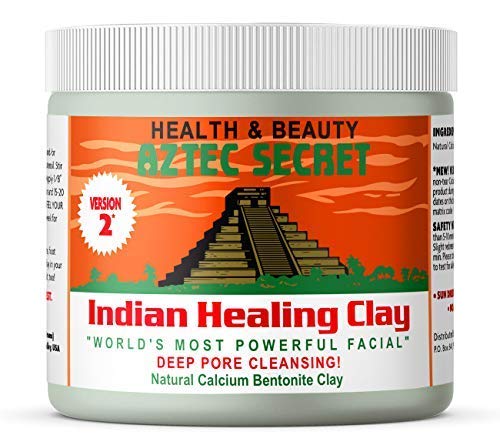
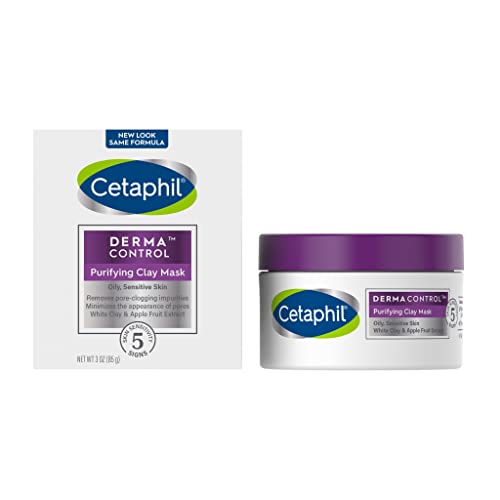
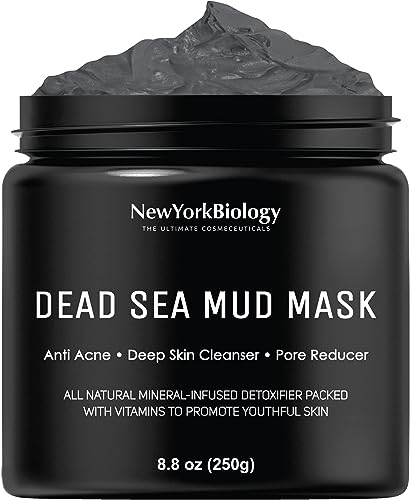
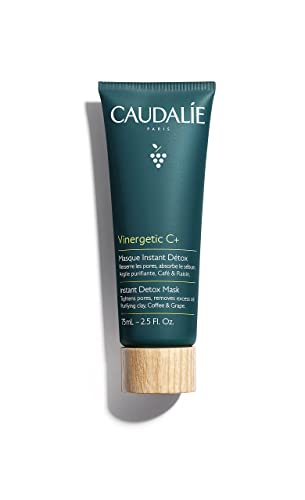
Top-selling clay mask for detoxification


Cleanse your face
- Begin by wetting your face with lukewarm water.
- Take a small amount of the gentle cleanser and apply it to your fingertips.
- Gently massage the cleanser onto your face in circular motions, focusing on areas prone to oiliness or congestion.
- Continue massaging for about 1-2 minutes, ensuring that the cleanser is thoroughly distributed.
- Rinse your face with lukewarm water, making sure to remove all traces of the cleanser.
- Pat your face dry with a clean towel, being careful not to rub or tug at your skin.
- Now, your face is ready for the next step in your skincare routine, such as applying a face mask or moisturizer.
Remember, cleansing your face is an essential step in maintaining healthy skin. By removing impurities and allowing your skincare products to work effectively, you can achieve a clearer and more radiant complexion.

Exfoliate
Next, exfoliate your skin to remove any dead skin cells and allow the clay mask to work more effectively. Start by choosing a gentle exfoliator that suits your skin type. Wet your face with warm water to prepare your skin for exfoliation. Take a small amount of the exfoliator and apply it to your fingertips. Using gentle pressure, massage the exfoliator onto your face in circular motions. Focus on areas that tend to be more prone to dead skin buildup, such as the T-zone and chin. Be careful not to scrub too hard, as this can irritate your skin. After about a minute of massaging, rinse off the exfoliator with warm water, making sure to remove all traces of product. Pat your face dry with a clean towel, and now your skin is ready for the clay mask.

Prepare the clay mask
To prepare the clay mask, start by carefully reading the instructions on the packaging. These instructions will guide you through the process, ensuring you achieve the best results. Most clay masks require mixing with water or a liquid activator to activate their beneficial properties.
Begin by gathering a clean bowl and spatula. This is important to maintain hygiene and prevent any contamination that could affect the performance of the mask. Once you have your supplies ready, carefully measure out the recommended amount of clay powder or paste specified on the packaging.
Next, add the appropriate amount of water or liquid activator to the bowl. It’s crucial to follow the recommended ratio to ensure the mask has the right consistency. Using the spatula, mix the clay and the liquid together until you achieve a smooth paste.
For example, if the instructions suggest mixing one tablespoon of clay powder with two tablespoons of water, measure out the ingredients accordingly. Scoop one tablespoon of clay powder into the bowl and add two tablespoons of water. Then, use the spatula to vigorously mix the two components together until they form a smooth, lump-free paste.
Remember to always read and follow the instructions on the packaging carefully. These steps will help you create the perfect clay mask consistency, allowing you to fully enjoy the benefits of this skincare product.


Apply the mask
Using a clean brush or your fingers, apply an even layer of the clay mask to your face, avoiding the delicate eye area. Gently spread the mask in upward motions, ensuring that it covers your entire face and neck if desired. Remember to apply it evenly to achieve maximum efficacy. Allow the mask to dry for the recommended time, usually around 10-15 minutes. During this time, relax and let the mask work its magic. Avoid moving your facial muscles too much to prevent cracking. Once the mask is dry, gently rinse it off with lukewarm water, using circular motions to exfoliate your skin. Pat your face dry with a clean towel and admire the refreshed and rejuvenated feeling.


Remove the mask
To remove the mask, once it is completely dry, begin by gently rinsing it off with warm water. Make sure to thoroughly wet your face before proceeding. Next, use a soft washcloth or your hands to carefully remove the mask, ensuring that you get rid of all traces. Be gentle but thorough in your motions to avoid irritating your skin. Once the mask has been completely removed, pat your face dry with a clean towel. Avoid rubbing your skin harshly, as this can cause unnecessary redness or irritation.


Moisturize
Step 1: Apply a clay mask
Step 2: Rinse off the clay mask with warm water
Step 3: Pat dry your face with a clean towel
Step 4: Take a small amount of lightweight, non-comedogenic moisturizer
Step 5: Gently massage the moisturizer onto your face using upward motions
Step 6: Ensure to cover your entire face, including the neck and jawline
Step 7: Allow the moisturizer to fully absorb into your skin
Step 8: Enjoy the soft and supple feeling of your moisturized skin
Step 9: Repeat this process daily, especially after using a clay mask, to maintain optimal skin hydration
Repeat regularly
Incorporating a detoxifying clay mask into your regular skincare routine is essential for achieving the best results and maintaining bright and healthy-looking skin. To get started, make sure you have a high-quality clay mask that suits your skin type.
- Cleanse your face thoroughly: Begin by washing your face with a gentle cleanser to remove any dirt, oil, or makeup residue. Pat your skin dry with a clean towel.
- Apply the clay mask evenly: Take a generous amount of the clay mask and apply it evenly to your face, avoiding the sensitive eye and lip areas. Use your fingertips or a clean brush for a more precise application.
- Let it work its magic: Allow the clay mask to dry completely on your face. This typically takes around 10-15 minutes, but check the instructions on your specific product for guidance.
- Rinse off gently: Once the mask is completely dry, rinse it off with lukewarm water. Use gentle circular motions to massage your skin while rinsing, ensuring all traces of the mask are removed.
- Moisturize and protect: After rinsing off the mask, pat your face dry and follow up with a moisturizer suitable for your skin type. This step helps replenish moisture and lock it in, leaving your skin feeling soft and supple.
For optimal results, repeat this process once or twice a week, depending on your skin’s needs. Regular use of a detoxifying clay mask will help draw out impurities, unclog pores, and improve overall skin texture, resulting in a radiant and healthy complexion.
Achieve Radiant, Glowing Skin
In conclusion, incorporating a detoxifying clay mask into your skincare routine can effectively brighten dull skin and promote a healthier, more radiant complexion. By following the steps outlined in this blog post, you can achieve the desired results and enhance the overall appearance of your skin.
Necessary Supplies


Enhance your glow
Usage Instructions
- Start by cleansing your face thoroughly with a gentle cleanser to remove any dirt or makeup
- Apply a thin, even layer of the detoxifying clay mask to your face, avoiding the delicate eye and lip areas
- Leave the mask on for the recommended time specified on the product packaging. This is usually around 10-15 minutes, but it may vary depending on the brand or type of mask
- While the mask is on, relax and let it work its magic. The clay mask will help draw out impurities, excess oil, and toxins from your skin
- After the designated time, gently rinse off the mask with lukewarm water. You can use a soft washcloth or your hands to remove it
- Pat your face dry with a clean towel and follow up with your regular skincare routine, such as applying toner, serum, and moisturizer
- It’s important to note that using a detoxifying clay mask may cause temporary redness or slight tingling, which is normal. If you experience any discomfort or irritation, remove the mask immediately and rinse your face thoroughly
- For beginners, it’s recommended to use the mask once or twice a week initially. As your skin gets used to the detoxifying effects, you can gradually increase the frequency if desired
- Always read and follow the instructions provided by the manufacturer for the specific clay mask you are using
Frequently Asked Questions about Detoxifying Clay Masks
How often should a detoxifying clay mask be used?
The frequency of using a detoxifying clay mask depends on the individual’s skin type and sensitivity. As a general guideline, it is recommended to use a detoxifying clay mask once or twice a week for most skin types. However, individuals with sensitive or dry skin may benefit from using it less frequently, such as once every two weeks, to avoid over-drying or irritation. It is important to carefully read and follow the instructions provided by the manufacturer of the clay mask product for optimal usage.
Are there any specific instructions to follow when applying a detoxifying clay mask?
Yes, there are specific instructions to follow when applying a detoxifying clay mask. Here are some common steps to consider:
- Cleanse your face: Start by washing your face with a gentle cleanser to remove any makeup, dirt, or impurities. Pat it dry with a clean towel.
- Prepare the clay mask: Follow the manufacturer’s instructions to mix the clay powder with water or another recommended liquid (such as apple cider vinegar or rosewater) to create a smooth paste. Use a non-metallic bowl and spoon, as metal can react with the clay.
- Perform a patch test: Apply a small amount of the clay mask on a small area of your skin, preferably on your forearm, and leave it on for 10-15 minutes. If you experience any adverse reactions like redness, itching, or irritation, do not proceed with the mask.
- Apply the mask: Using clean fingers, a brush, or a spatula, apply an even layer of the clay mask to your face, avoiding the delicate eye and lip areas. Ensure that your skin is completely covered but not overly thick.
- Wait for the mask to dry: Allow the mask to dry for the recommended time mentioned on the product label. This typically ranges from 10-20 minutes. Avoid making facial movements to prevent cracking of the mask.
- Rinse off the mask: Once the mask is completely dry, use lukewarm water to gently rinse it off. You can use a soft cloth or your hands to remove the mask in circular motions. Ensure that all traces of the mask are removed.
- Moisturize: After rinsing off the mask, pat your face dry with a clean towel and apply a suitable moisturizer to hydrate your skin. This helps to prevent dryness and maintain the skin’s moisture balance.

Hey, I’m Ava Wilson—a skincare enthusiast and a certified esthetician. I’m dedicated to sharing my knowledge and empowering others to achieve healthy, glowing skin through simple, effective routines and natural remedies. Join me on this exciting skincare journey, and let’s unlock your skin’s potential for a confident, beautiful you.